


Beat makers, Music Producers and Musicians,
Strap up as we go through a powerhouse of gems into how to make those epic 1970s soul samples
The 1970s was a pivotal decade for the development of soul music, many of the music production techniques used during this era still influences the artists of today from groups like silk sonic to music producers like the Alchemist known for he's soulful 70s vinyl chops.
This timeless sound has a history and a set of creative rules to apply, get it wrong and you could miss the vibe, the tone or the era completely. So heres some weight in gold tips to get you going.
Study the greats:
Make a habit to study the iconic songs by artists like Issac Hayes, Al Green, James Brown, Earth Wind & Fire.
Understand their chord progression and instrumentation.
What you want to understand is the key instrumentation and arrangement and how to get familiar with recreating it through active listening.
Chord Progressions:
Common Progressions: Many 70s soul songs use simple yet emotive progressions or variations with added jazz chords.
Emotional Chords: Learn to understand harmonies such as major 7ths, minor 7ths, Diminished chords chords and augmented chords to get a sense of what adds depth and gives you a sense of triggering emotional response.
You can even use chord from outside the key to create tension and resolution.
TIP: Grab a poster chord progression poster and stick it on your wall!
Learn chord progressions as you go along.
Key Instruments:
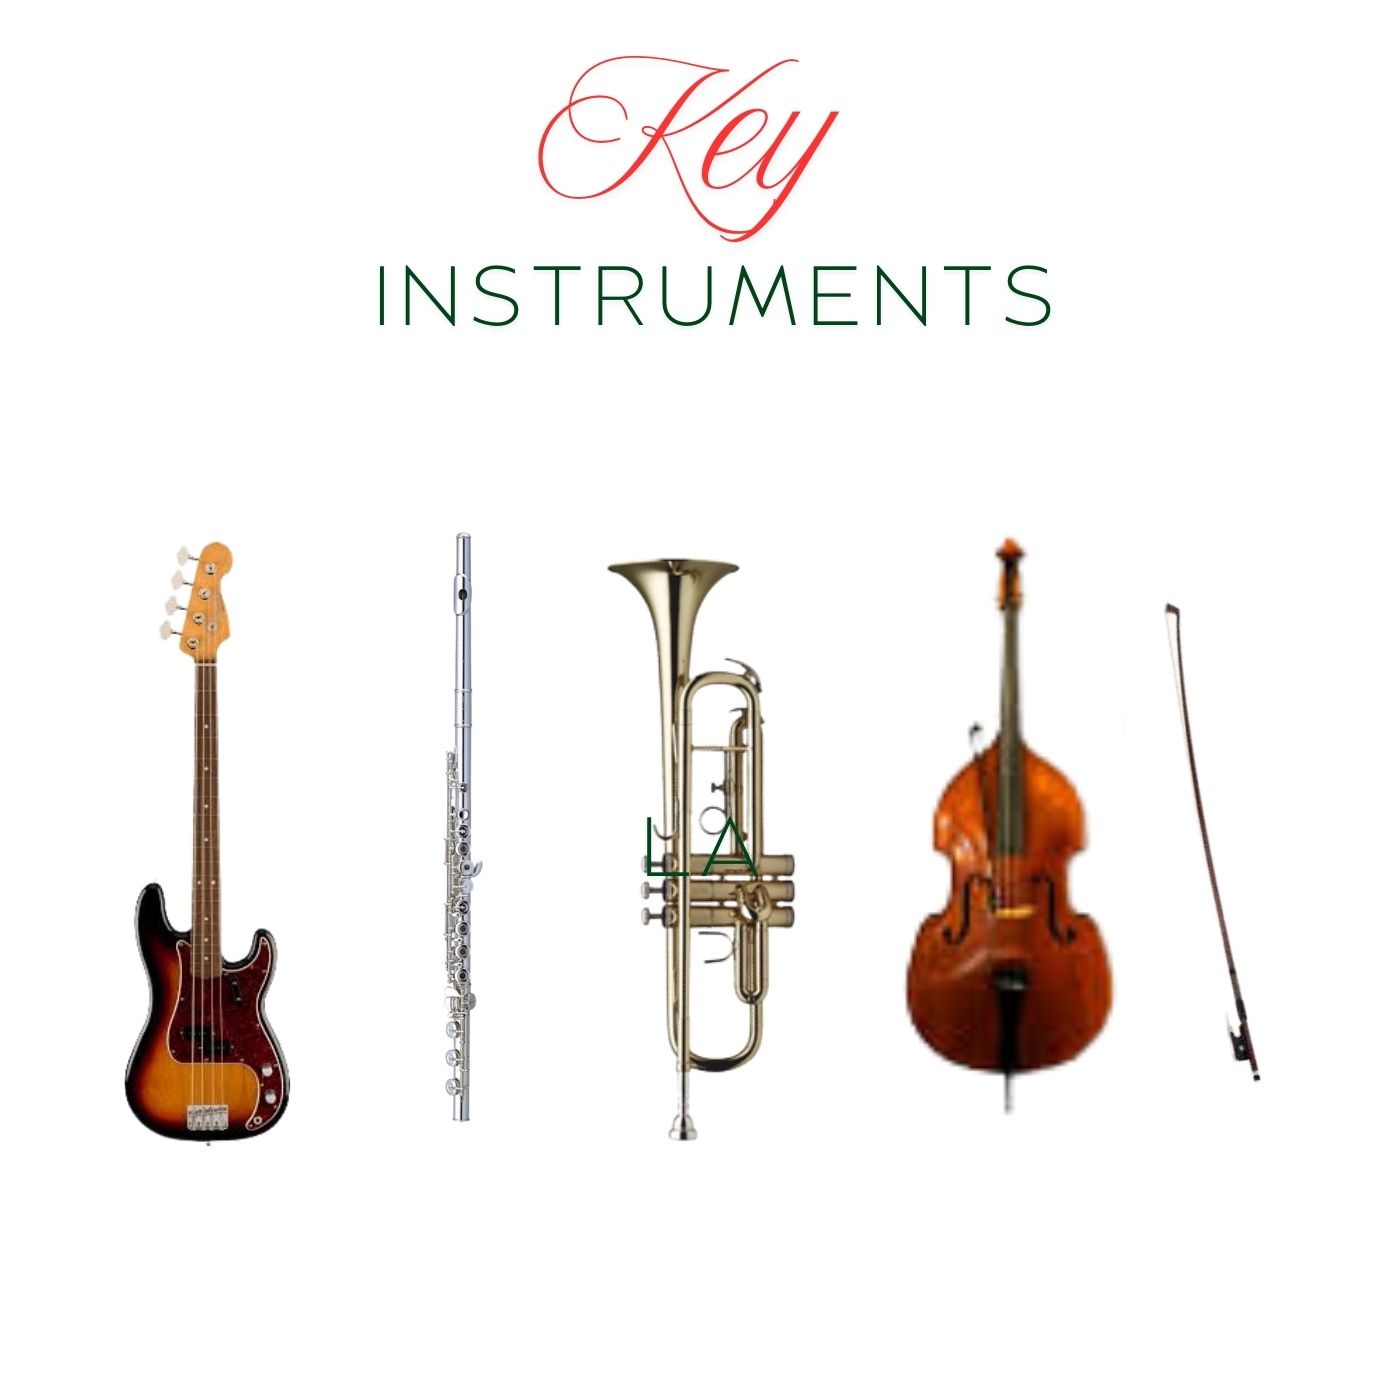
Many instruments have the ability to create a clean, rhythmic, harmonic richness, be it warm, rhythmic or propulsive lines to drive the groove.
Its for you to figure out what instrument is bring the vibe and energy.
The Main instruments are:
Electric Guitar
The guitar in soul music gives rhythmic support, melodic fils and can even mimic horn lines. It assists the main groove and overall texture.
Pinaon/Electric Piano
Keyboards add harmonic depth, melodic interest and is well known for warming tones used by the rhodes and wurlitzer piano.
The traditional is know to create emotional response and works well with ballads.
Organ
Notably the Hammond B-3, The organ is known to take you to church, adding rich, warm, church-like tones, The roots run deep from the gospel movement through to todays music and the sound is distinctive and responsive having the ability to draw strong emotions or give a subtle uplift.
Bass
Bass is the foundation in soul music creating rhythmic, riff-based, and groove-heavy lines. its fundamental to the soul sound.
Drums
Drums delivers the driving backbeat and infectious groove,
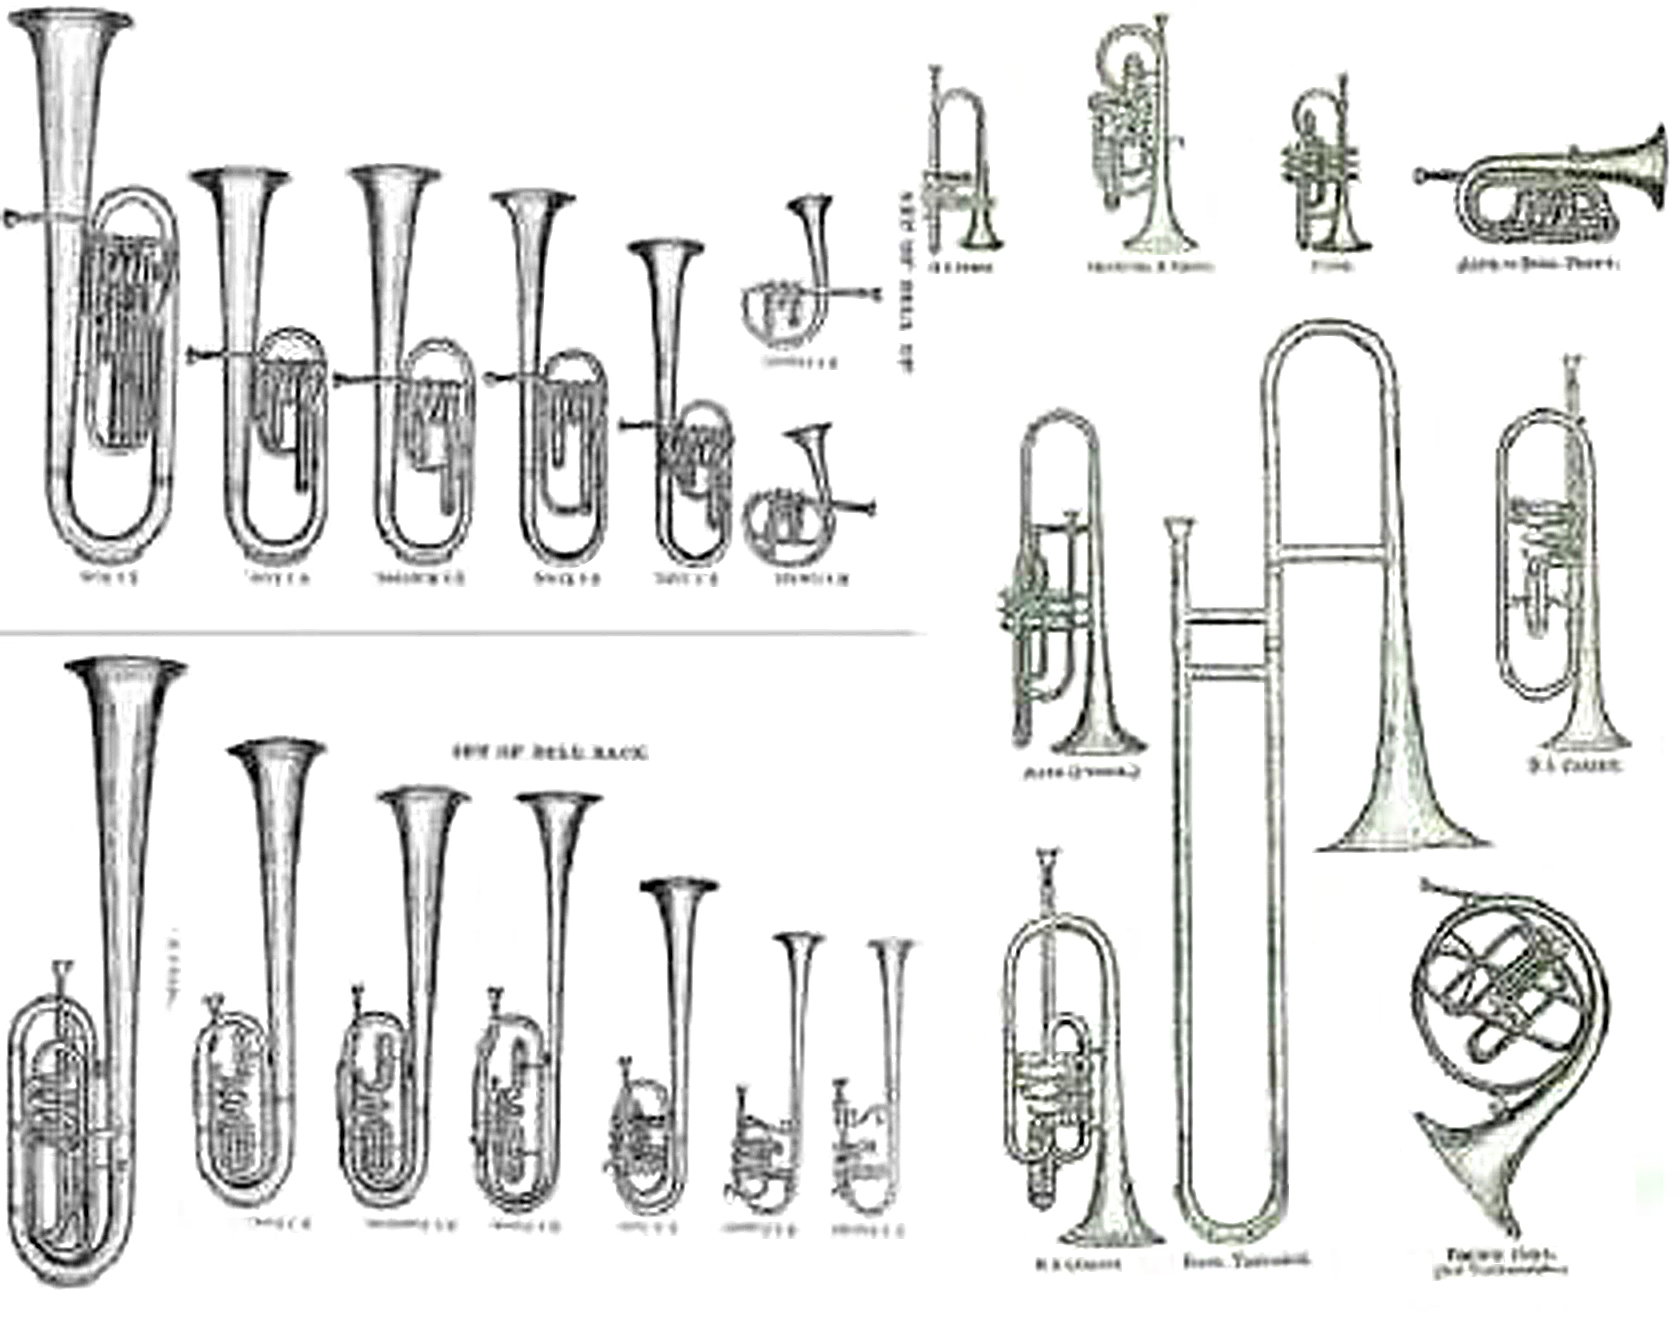
Brass
Mainly trumpets, saxophones, trombones, Brass contributes powerful brass accents and dynamic melodies to soul music.
Strings
Mainly violins, cellos, strings are used to add lush, emotional layers, especially in ballads.
Percussion
Mainly tambourines and congas, which adds rhythmic texture and movement.
Arrangement Techniques
GLOSSARY:
Call and Response:
Between the main vocals and backing singers or even the instruments.
Hooks:
Strong vocal or instrumental hooks for memorability
Rhythmic Focus:
Basslines and rhytjmic chordal parts on guitar/piano or the bridge section.
Tempo Variations:
Checking out if their is any tempo changes from the verses to the chorus or bridge.
Recreating their methods:
If you want to know how to make vintage soul samples try to replicate recordings with similar gear or modern equivalents, limit yourself to fewer tracks or record live with minimal overdubs. This hands on approach can reveal great insights.
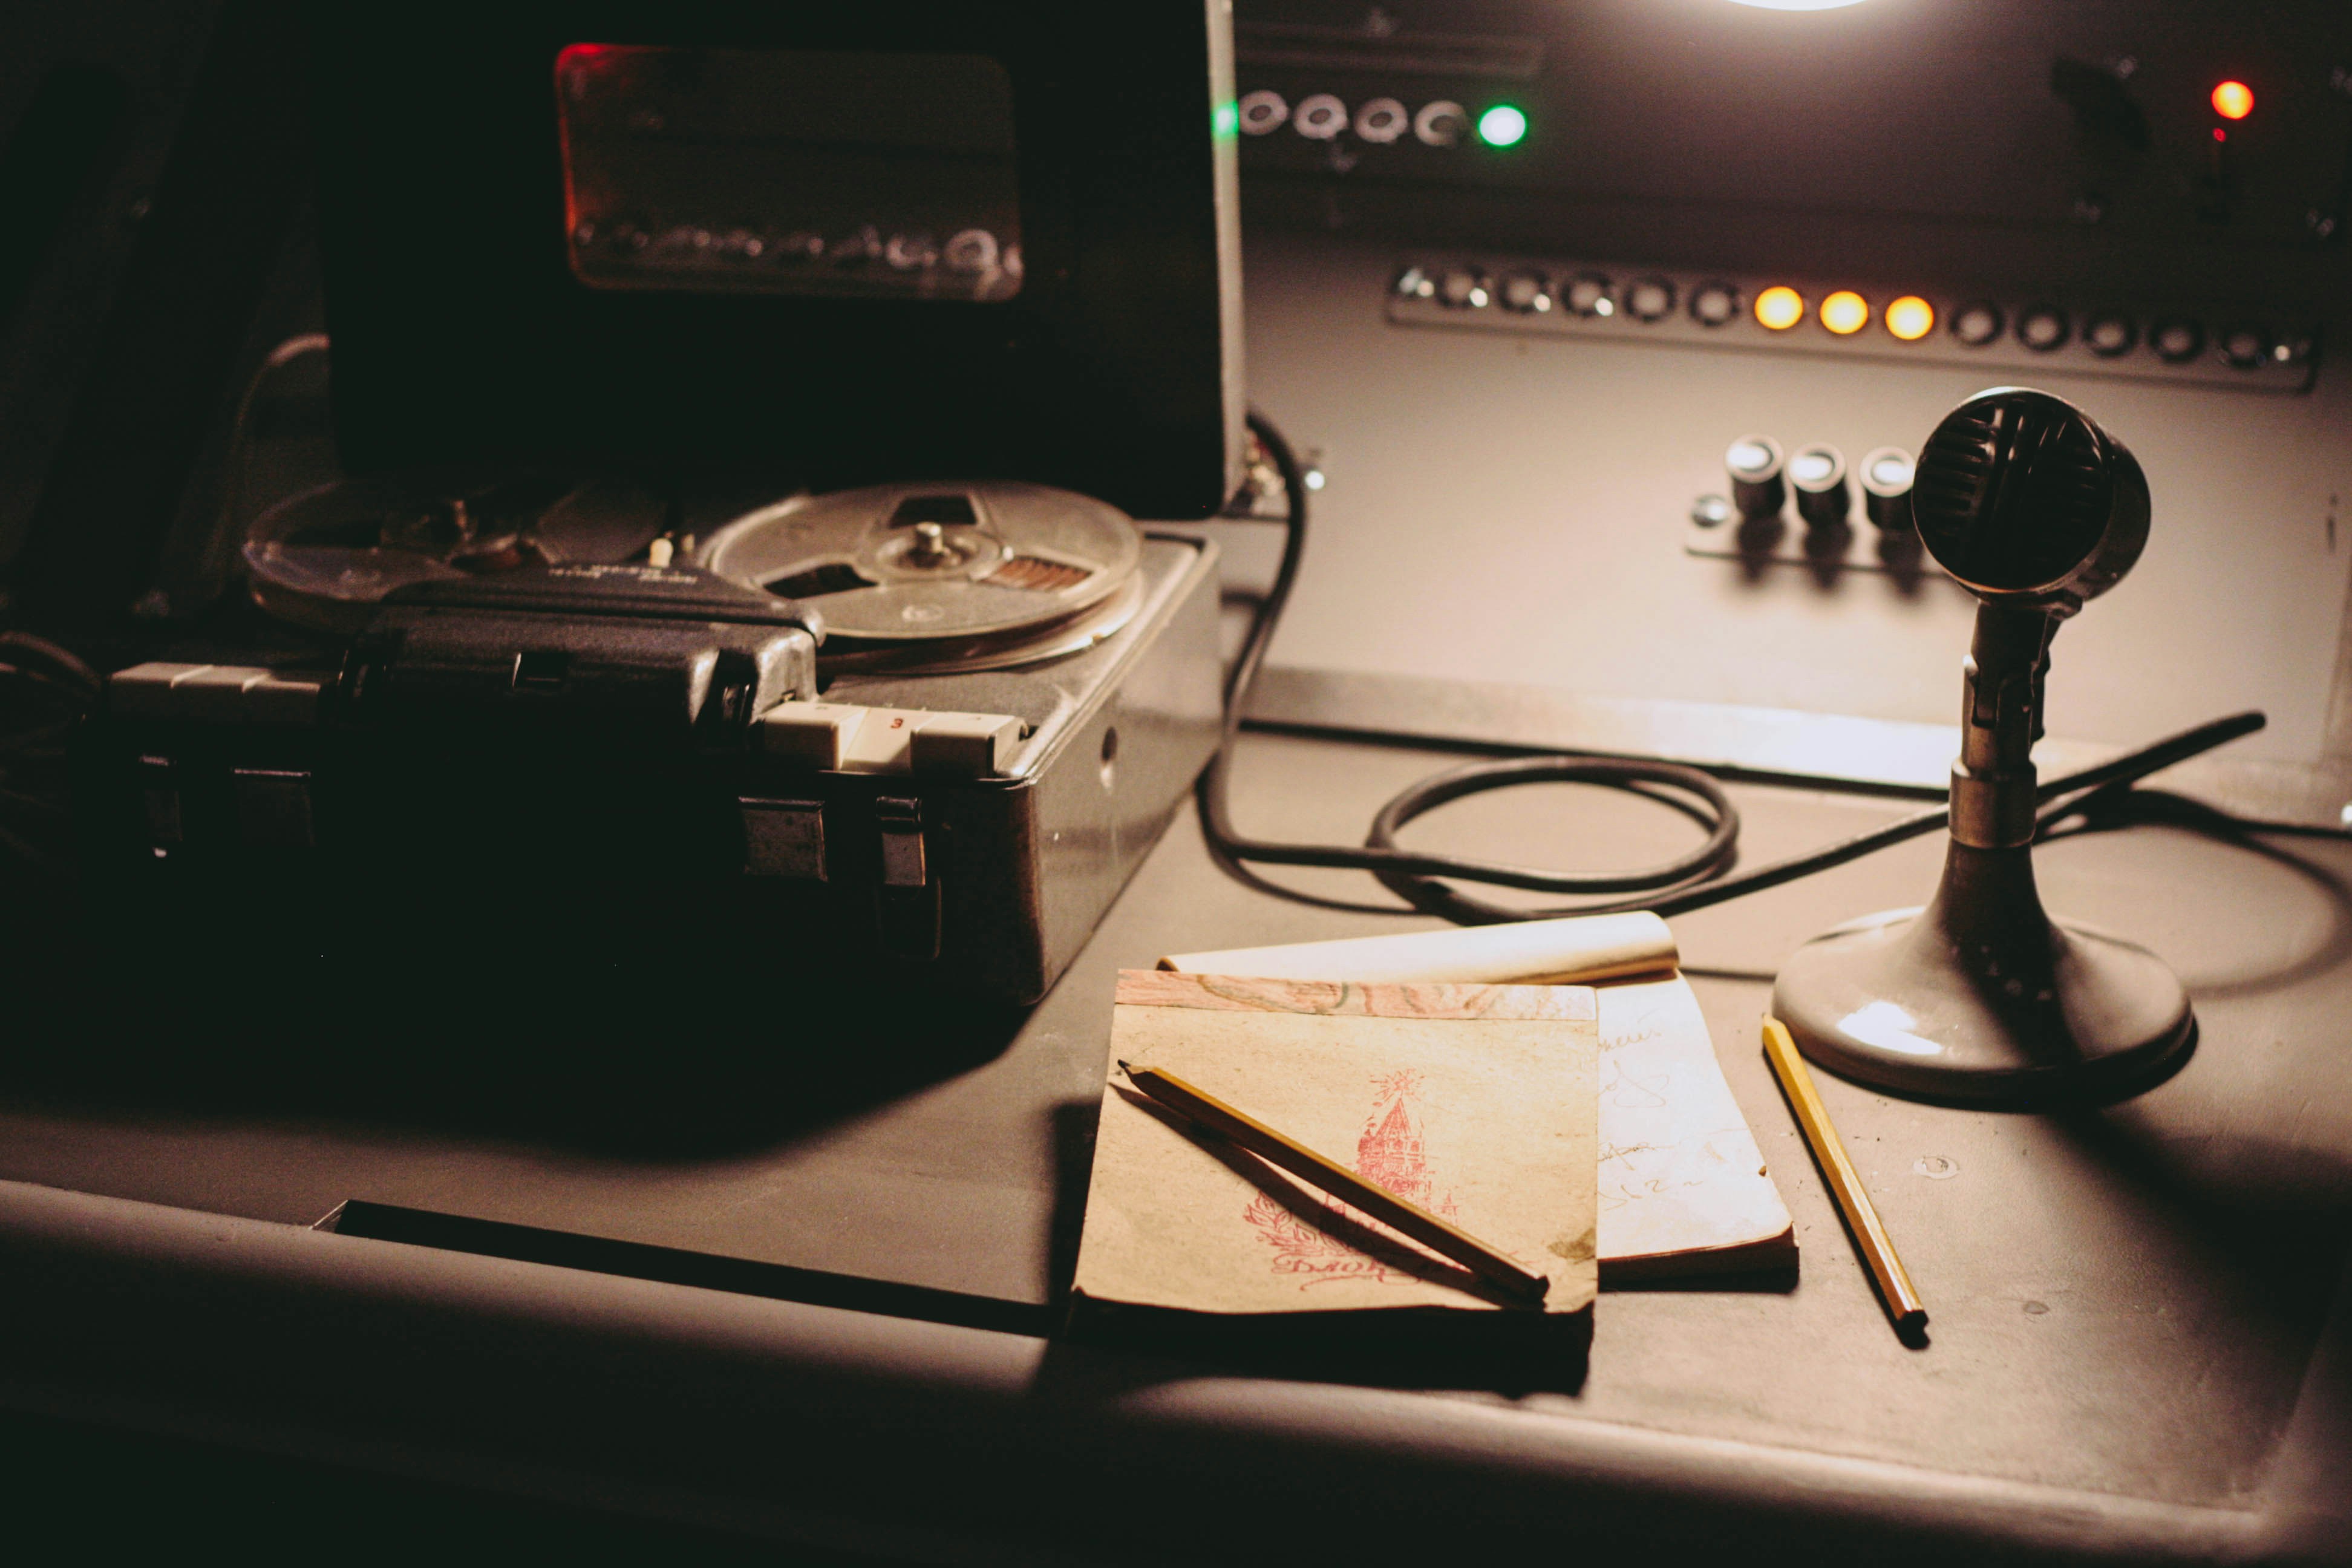
Use Analog Gear:
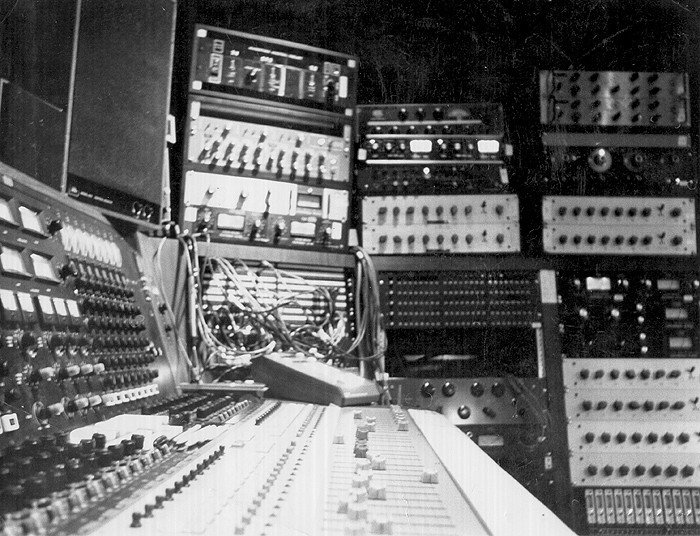
Many of the classic soul records of the 1970s were recorded and mixed using analog gear, such as tape machines and mixing consoles.
Using analog gear can significantly help in replicating the sound and authenticity of classic recordings especially from the golden era of the 70s., imparting unique sonic qualities of imperfection that are difficult to achieve with digital tools alone.
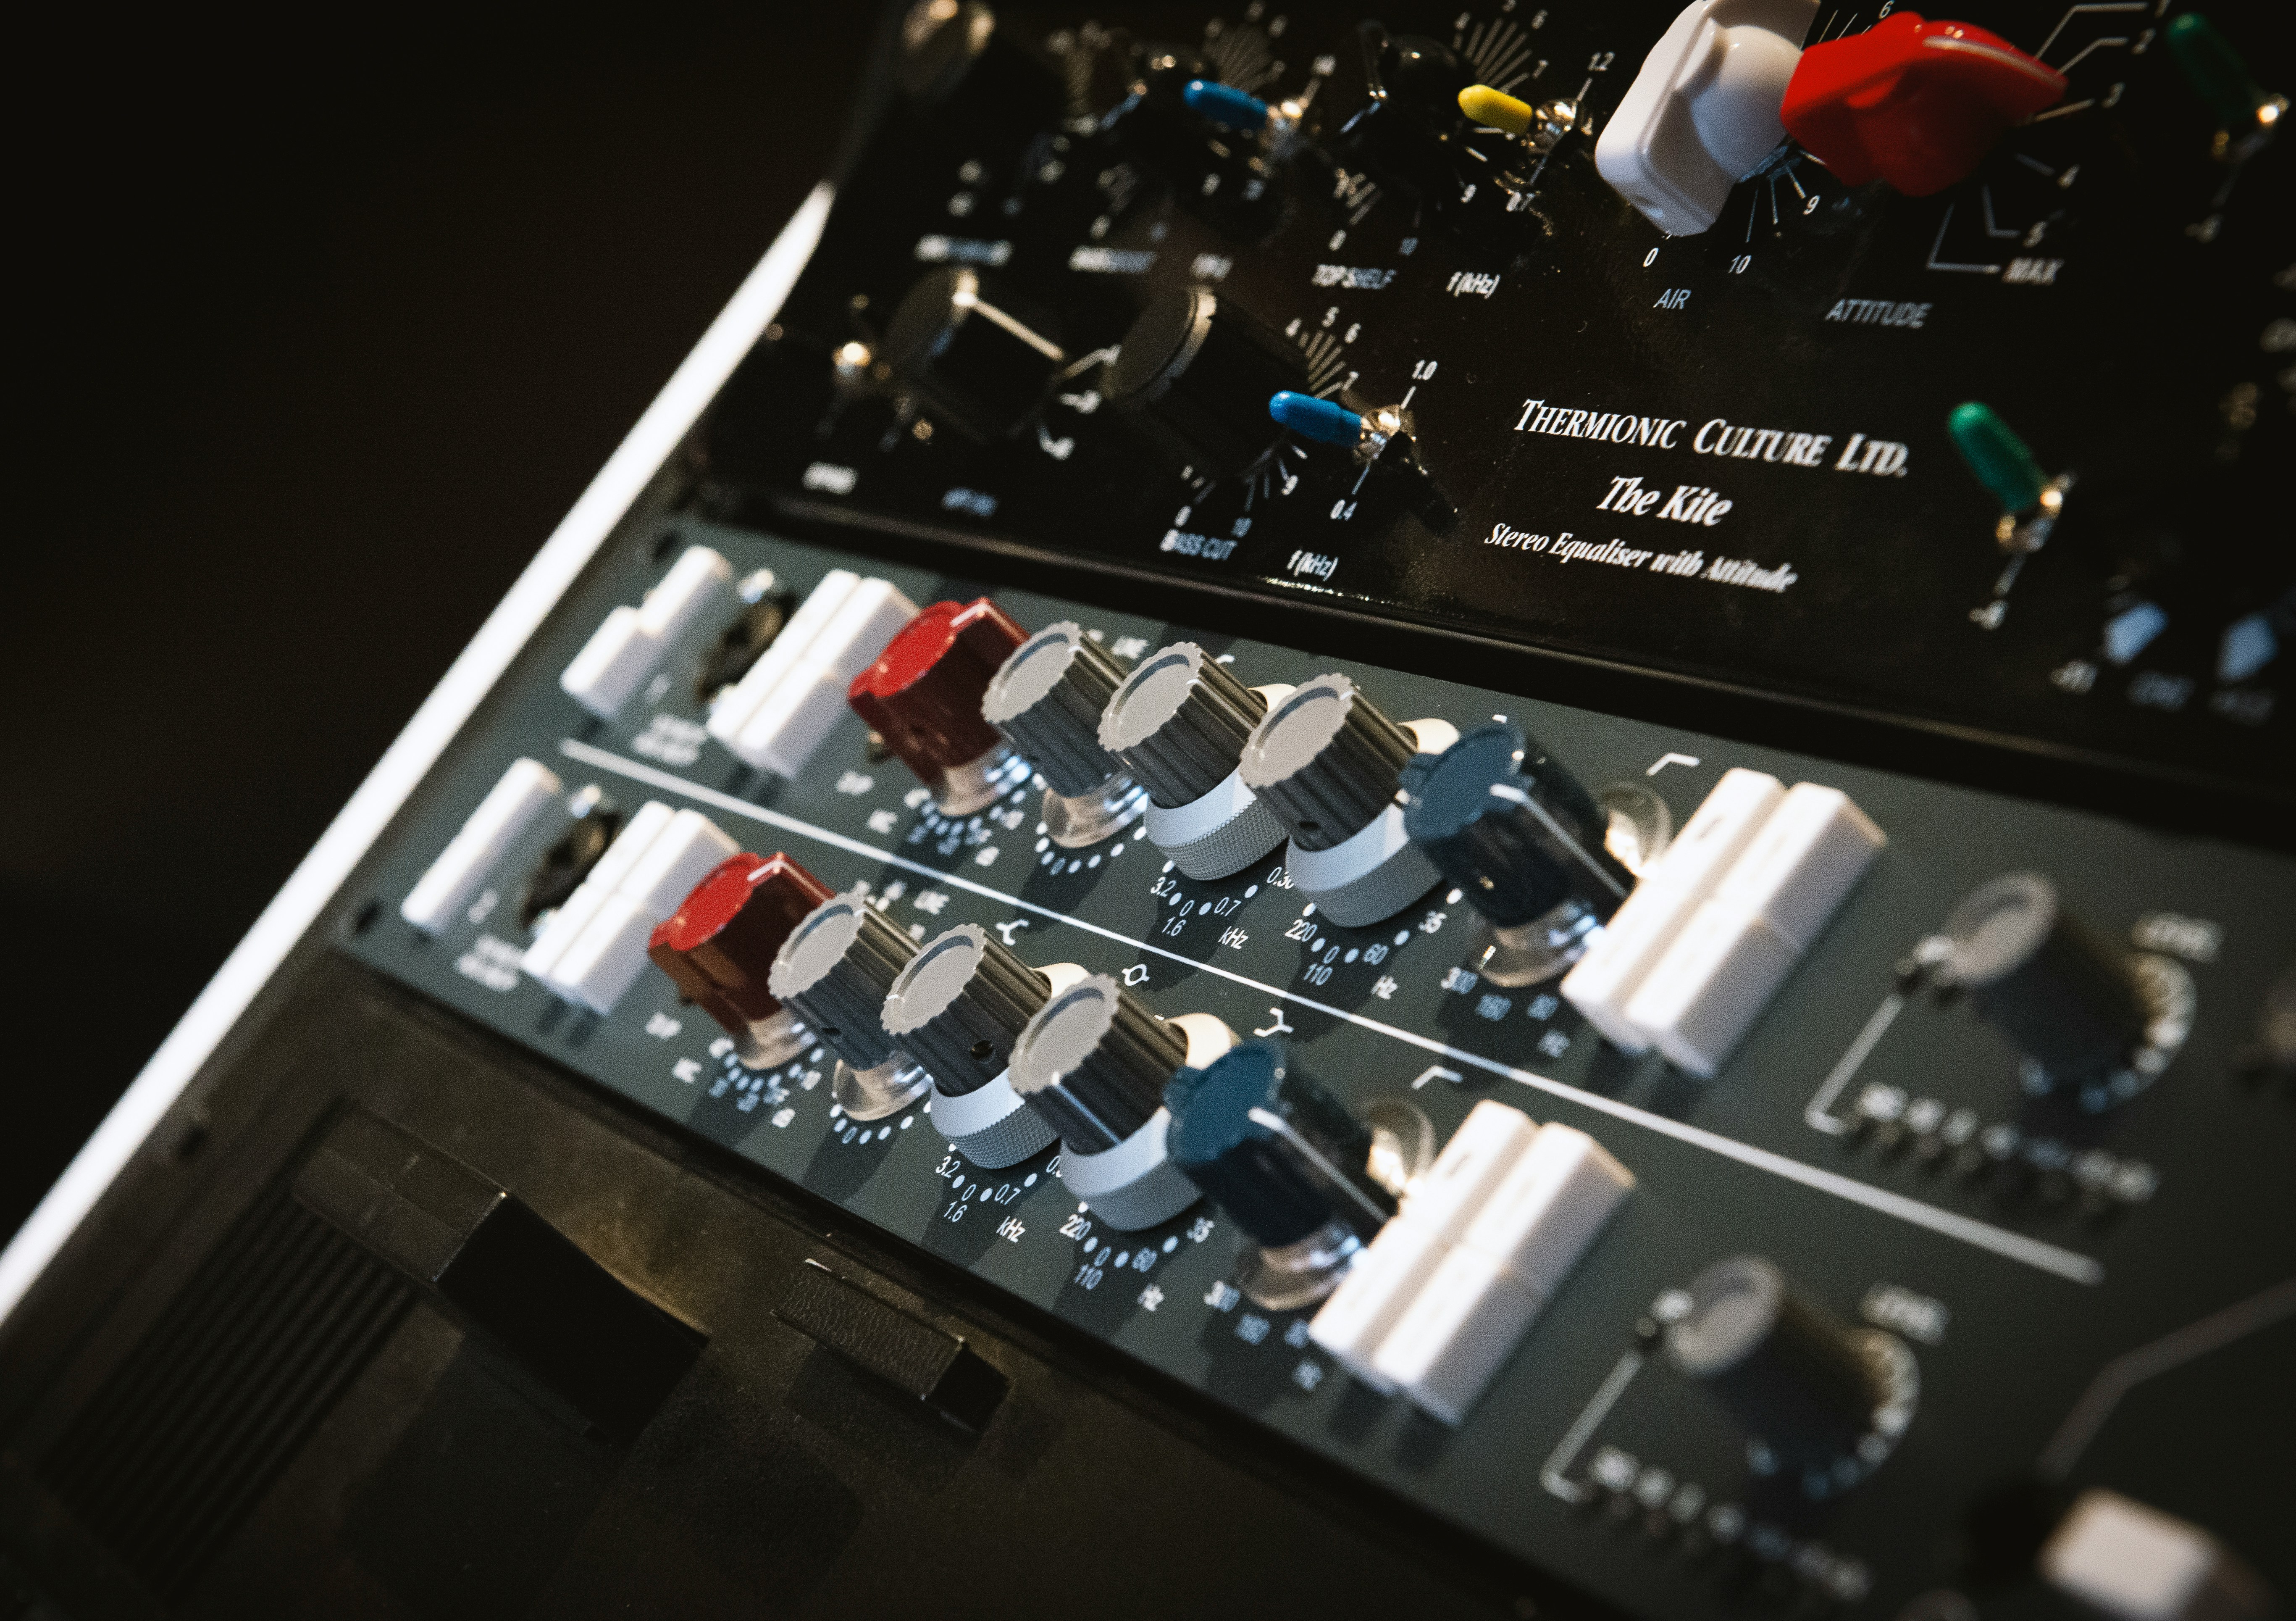
Warmth and harmonic character:
Analog equipment, such as tape machines and amplifiers and vintage compressors naturally introduce subtle harmonic distortion, saturation and non linearities. This adds warmth depth and complexity to recordings, resulting in a fuller more organic tone that digital tools again struggle to match.
Natural compression and glue:
Analog gear, particularly tape and analog compressors, smooth out transients and gently compresses audio in a musical way. This create a sense of cohesion or glue between tracks, binding elements together for a unified sound.
Depth and space:
Analog circuitry and tape can enhance the perception of three dimensional space in a mix. The way analog gear manipulate phase relationships and frequency response gives recordings a sense of width, body and air.
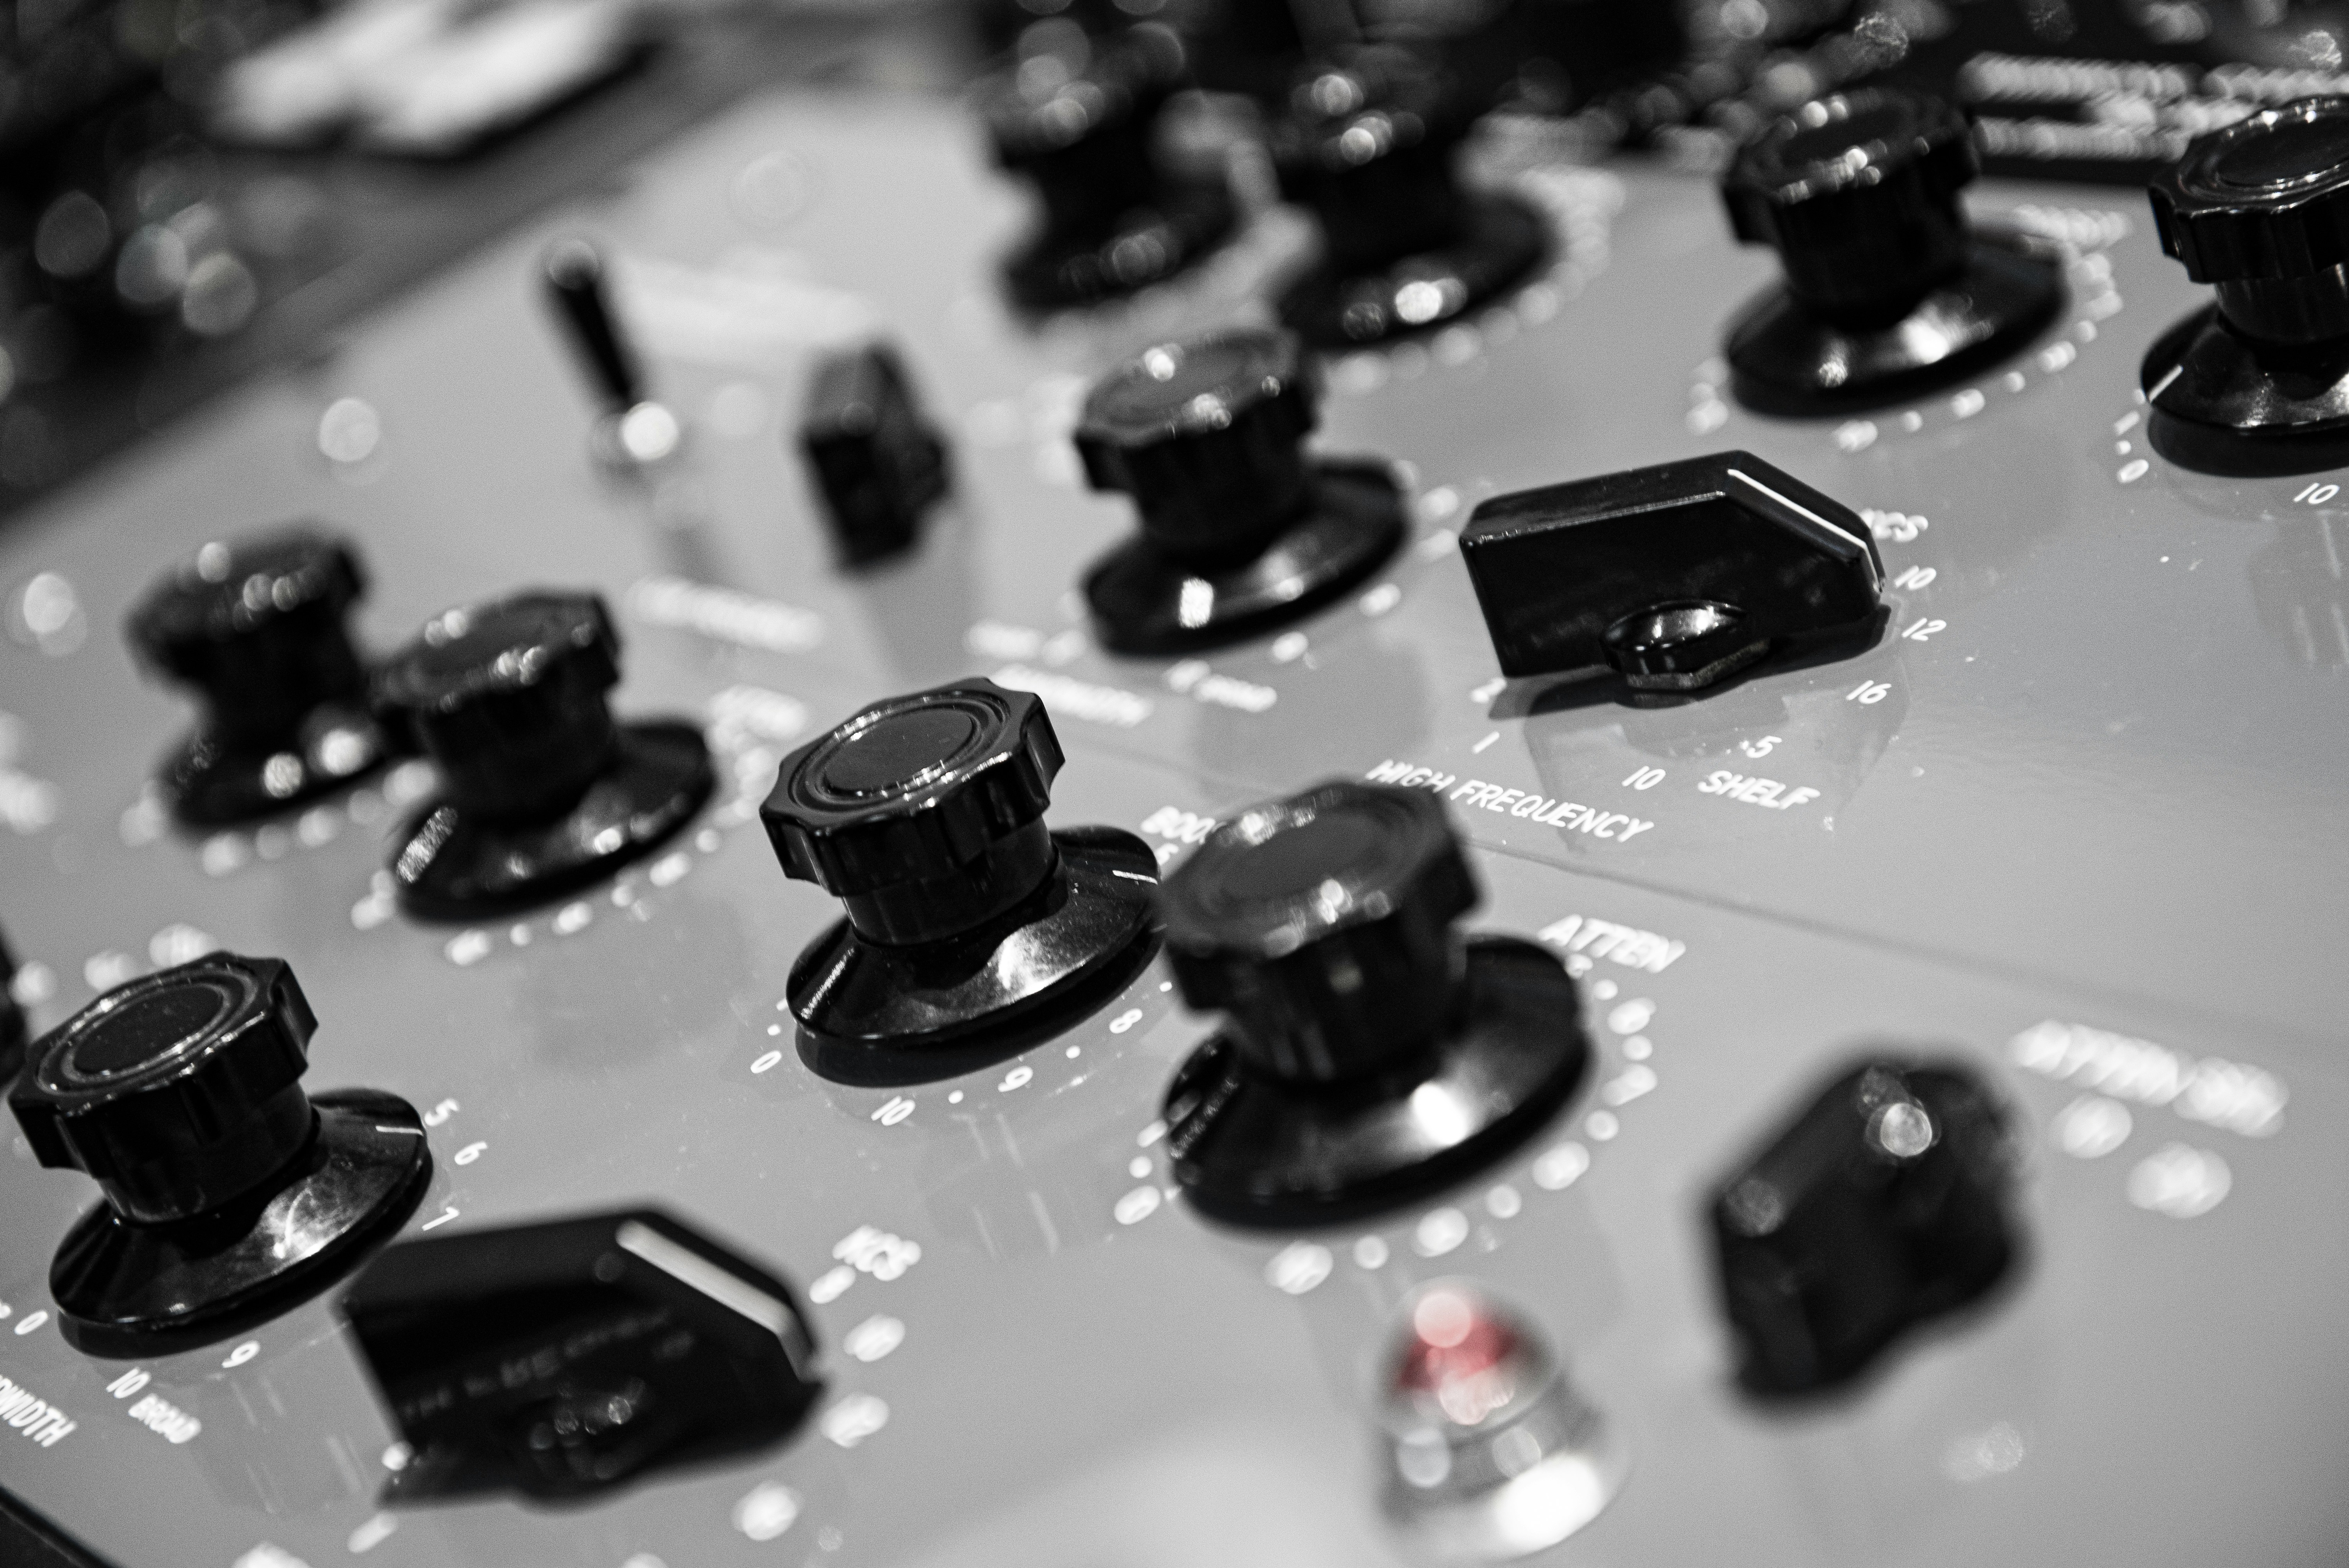
Tactile, hands on experience:
Working with analog gear involves a physical interaction, tuuning knobs and adjusting sliders which encourages intuitive real time decision making.This hands on approach can lead to more creative and authentic results as. it mirrors the workflow of classic engineers and producers.
Subtle imperfections:
Analog gear introduces minor artifacts such as tape hiss wow and flutter and gentle signal degredation. These imperfections contribute to the nostalgic vintage character that defines many classic recordings of the 1970s.
In summary, using analog gear helps recreate the authentic sound of past eras by providing warmth, depth and musical compression with subtle imperfection qualities that digital emulations emulate but cant fully match yet.
Use horns:
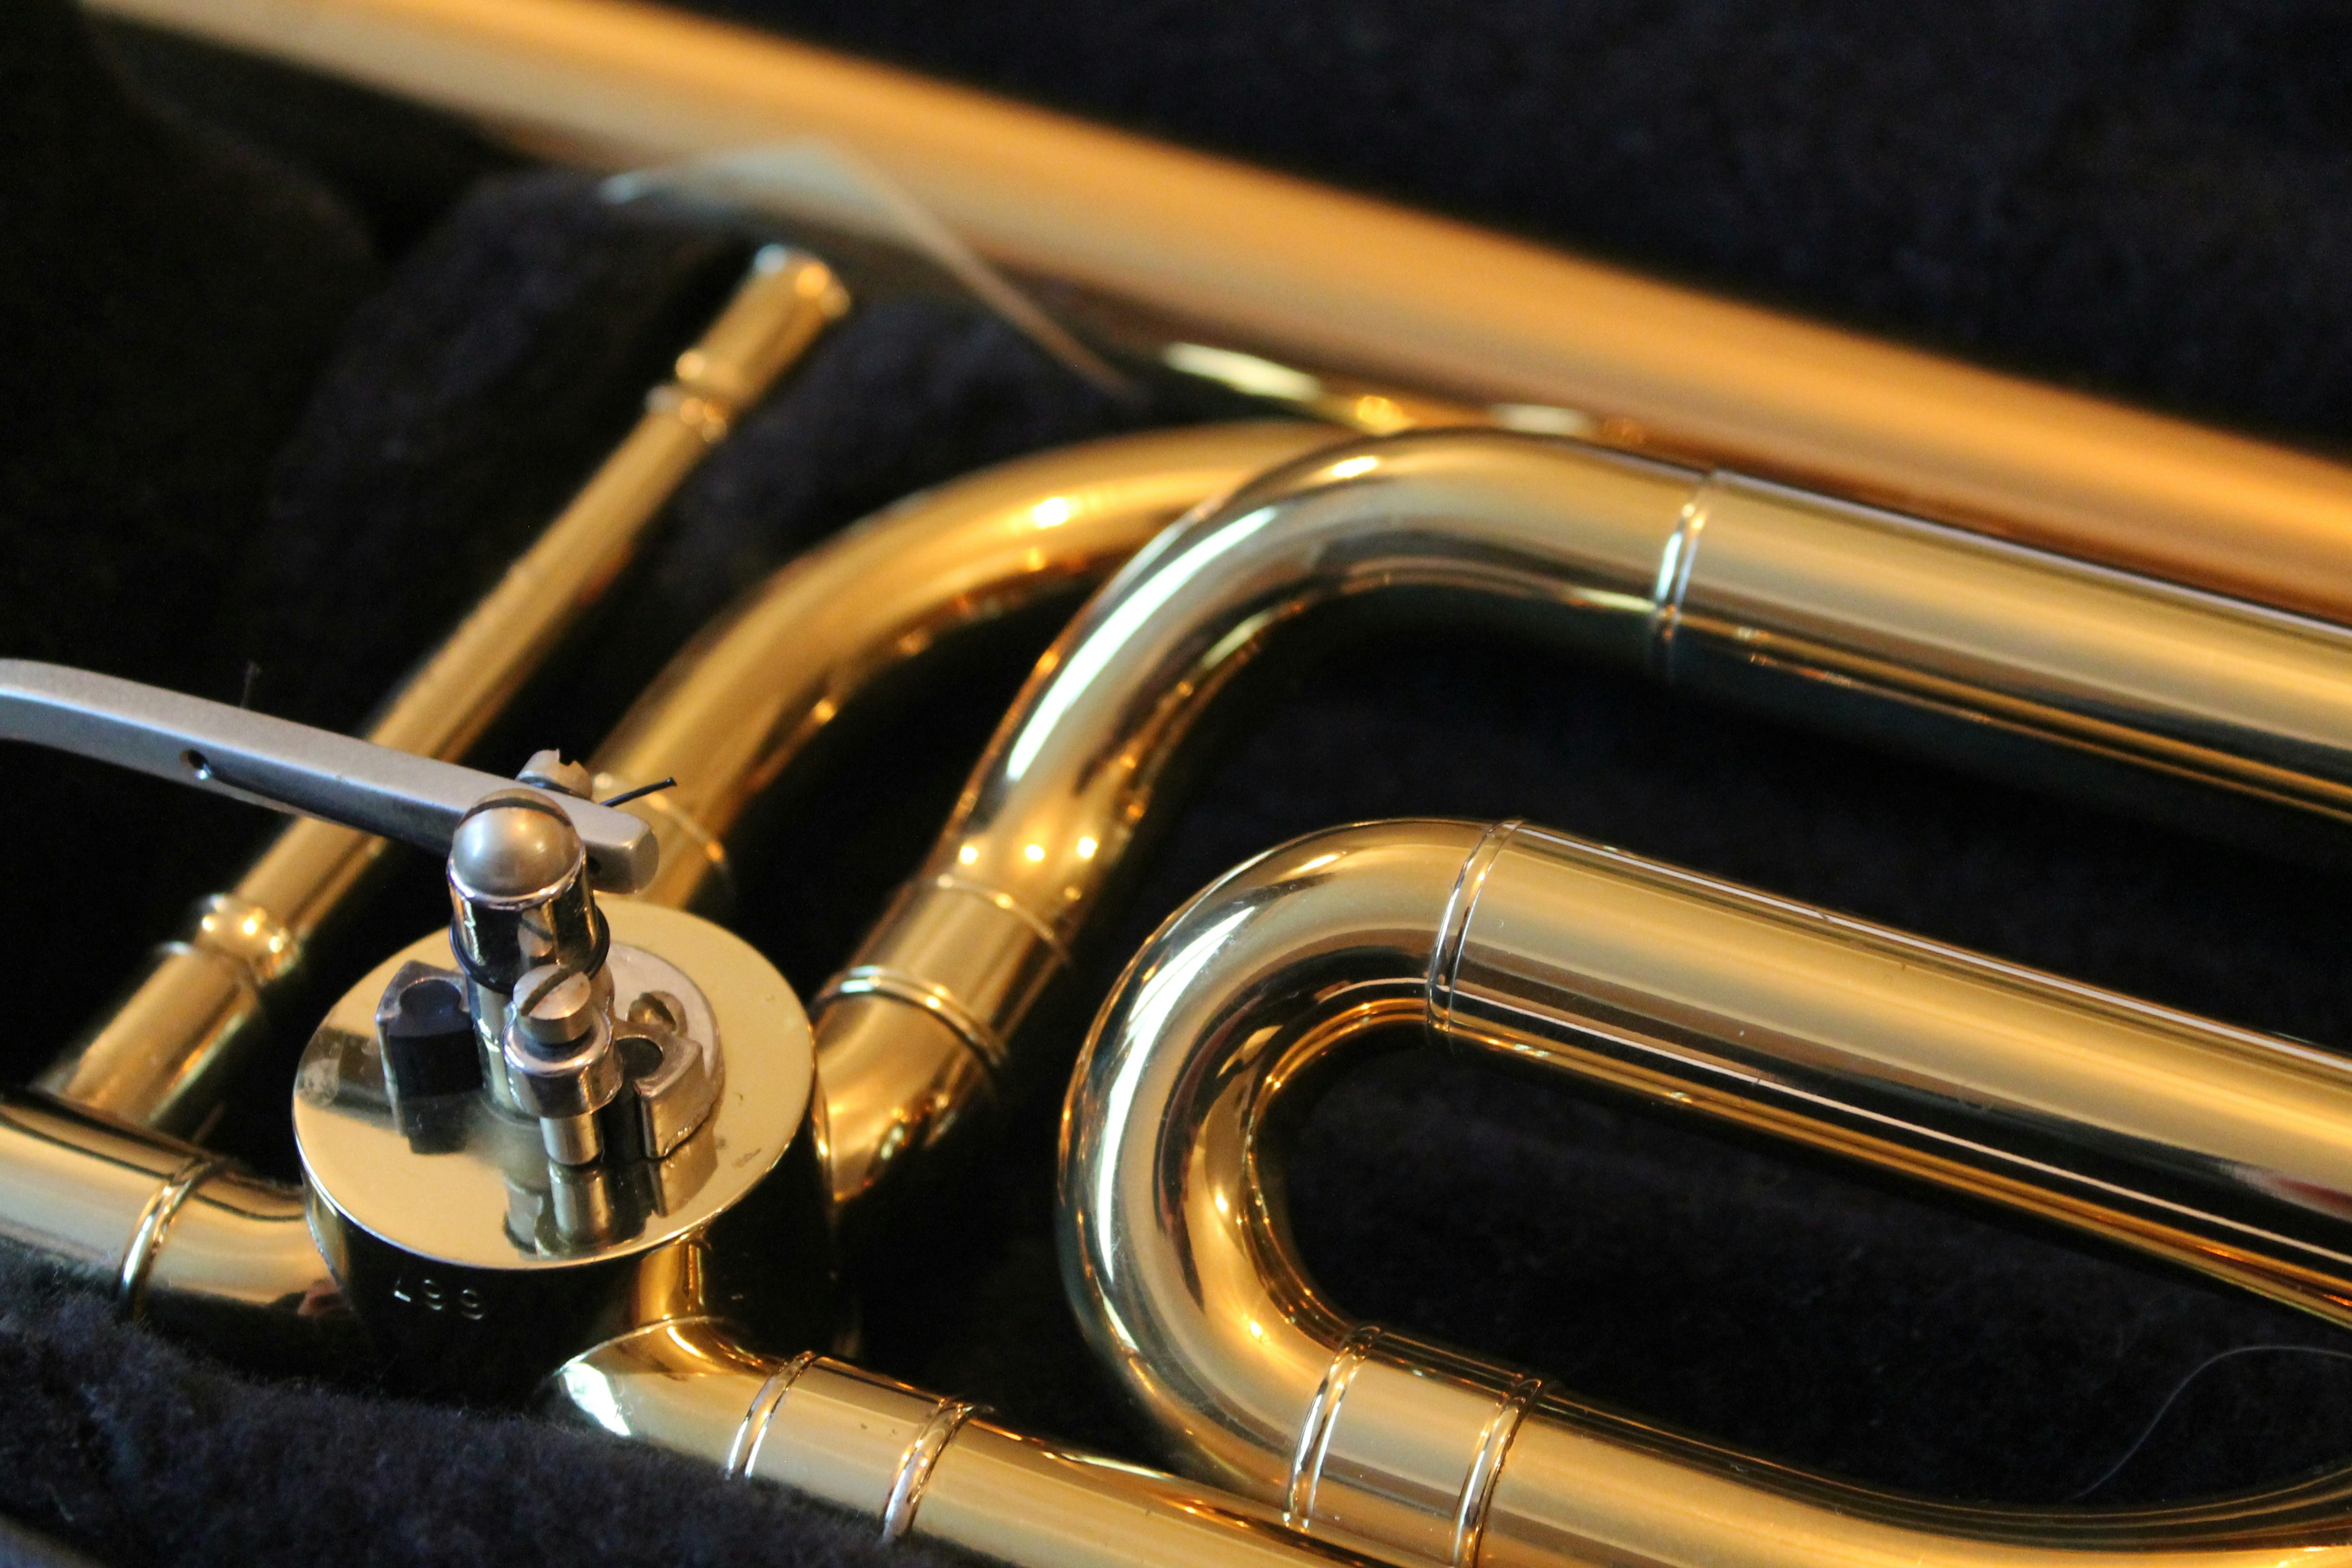
Horns were often used in 1070s soul music, especially in Blaxploitation themed soundtracks, which added depth and vibrance to the arrangements.If you want to master how to make soul samples, consider learning the vast range of brass instruments in your productions.
Impact: Horns and brass brought excitement, drama and a sense of celebration to soul tracks. They were used to highlight climatic moments, reinforce a vocal melody or add layers of texture.
Sectional power: The use of stacked harmonised brass, trumpets, trombones and saxes playing together created a powerful unified sound that became a hallmark of the genre.
Notable bands and examples:
Earth Wind and Fire, Tower of Power and Ohio Players:
These groups are iconic for their sophisticated energetic horn arrangements, influencing countless soul, funk and pop productions of the era.
Studio Musicians: Many soul records featured top tier session players who specialised in tight expressive horn work, contributing to polished yet lively sounds of classic recordings.
Tip: Find some session brass players to become friends with.
Recording approach:
Live Tracking: Horn sections were often recorded live with careful mic placement to capture both the blend and the individual character of each instrument.
Vintage Gear: Ribbon microphones and analog mic preamps were commonly used to impart warmth and smoothness to the brass instruments.
Study Classic Arrangements
Listen closely to soul records from Stax records, Motown Philly International and Hi Records.
Note how horns are used for riffs, call and response rhymic stabs and melodic hooks.
Analyze the voicing: Horns often play in thirds, sixth or simple triads and somethime in unison or octaves for power.
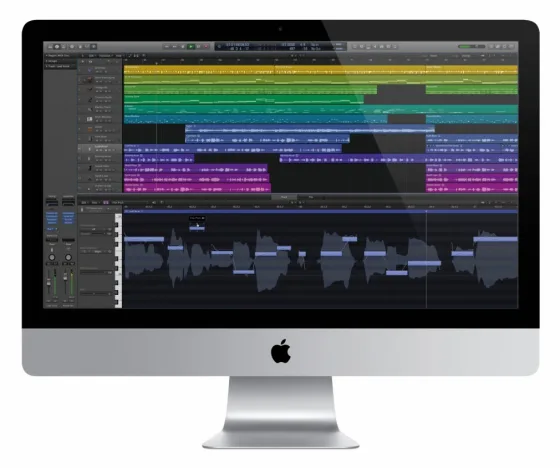
2. Use Midi and Sample Libraries:
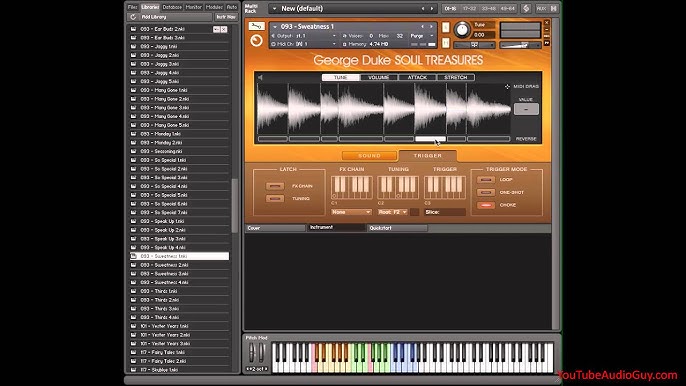
Modern virtual instruments and sample libraries Kontackt, Spitfire Audio and Orchestral Tools offer realistic horn sounds. If you want to really talke make soul samples to the next level then Use these to sketch and refine your arrangements.
Program midi parts with intention to velocity, timing and articulation, randomise velocities and slight shift timing for realism.
3. Arranging Techniques
Section Size: Typical soul horn sections use 2-4 parts e.g., trumpet, tenor sax, trombone and sometimes alto/baritone sax.
Voicing: Start with simple harmonies (thirds sixths) and use unison/octaves for emphasis. Avoid doubling the 7th scale degree in harmonies.
Rhythm: Make horn parts rhythmic and syncopated, often locking with drums and bass fro groove.
Melodic Movement: Favour stepwise motion and contrary movement between parts for smoothness.
Expression: Add ghost notes, slides, falls, trills and vibrato for realism. Many sample libraries have key switches or automation for these types of articulation switches.
Layering and overdubbing: Double horn parts and pan them left /right for a bigger more authentic sound.
Overdub the same part with slight variations in timing and velocity to simulate a larger section.
Mxing and Effects:
Use a plate reverb or a unified reverb send for all horns to glue them together, mimicking the classic audio standard approach.
Pan horn sections for stereo width.
Consider using a a tape saturation or vintage style compressor to a horn bus.
Practical Workflow:
Write or play your chord progression, then build horn lines by copying chord tones or creating counter melodies.
Use midi editing to humanise the performance, adjust note lengths, velocities and timing.
Reference classic tracks as you work, A/B your arrangement with the reference to match style and vibe.
Go for Strings:
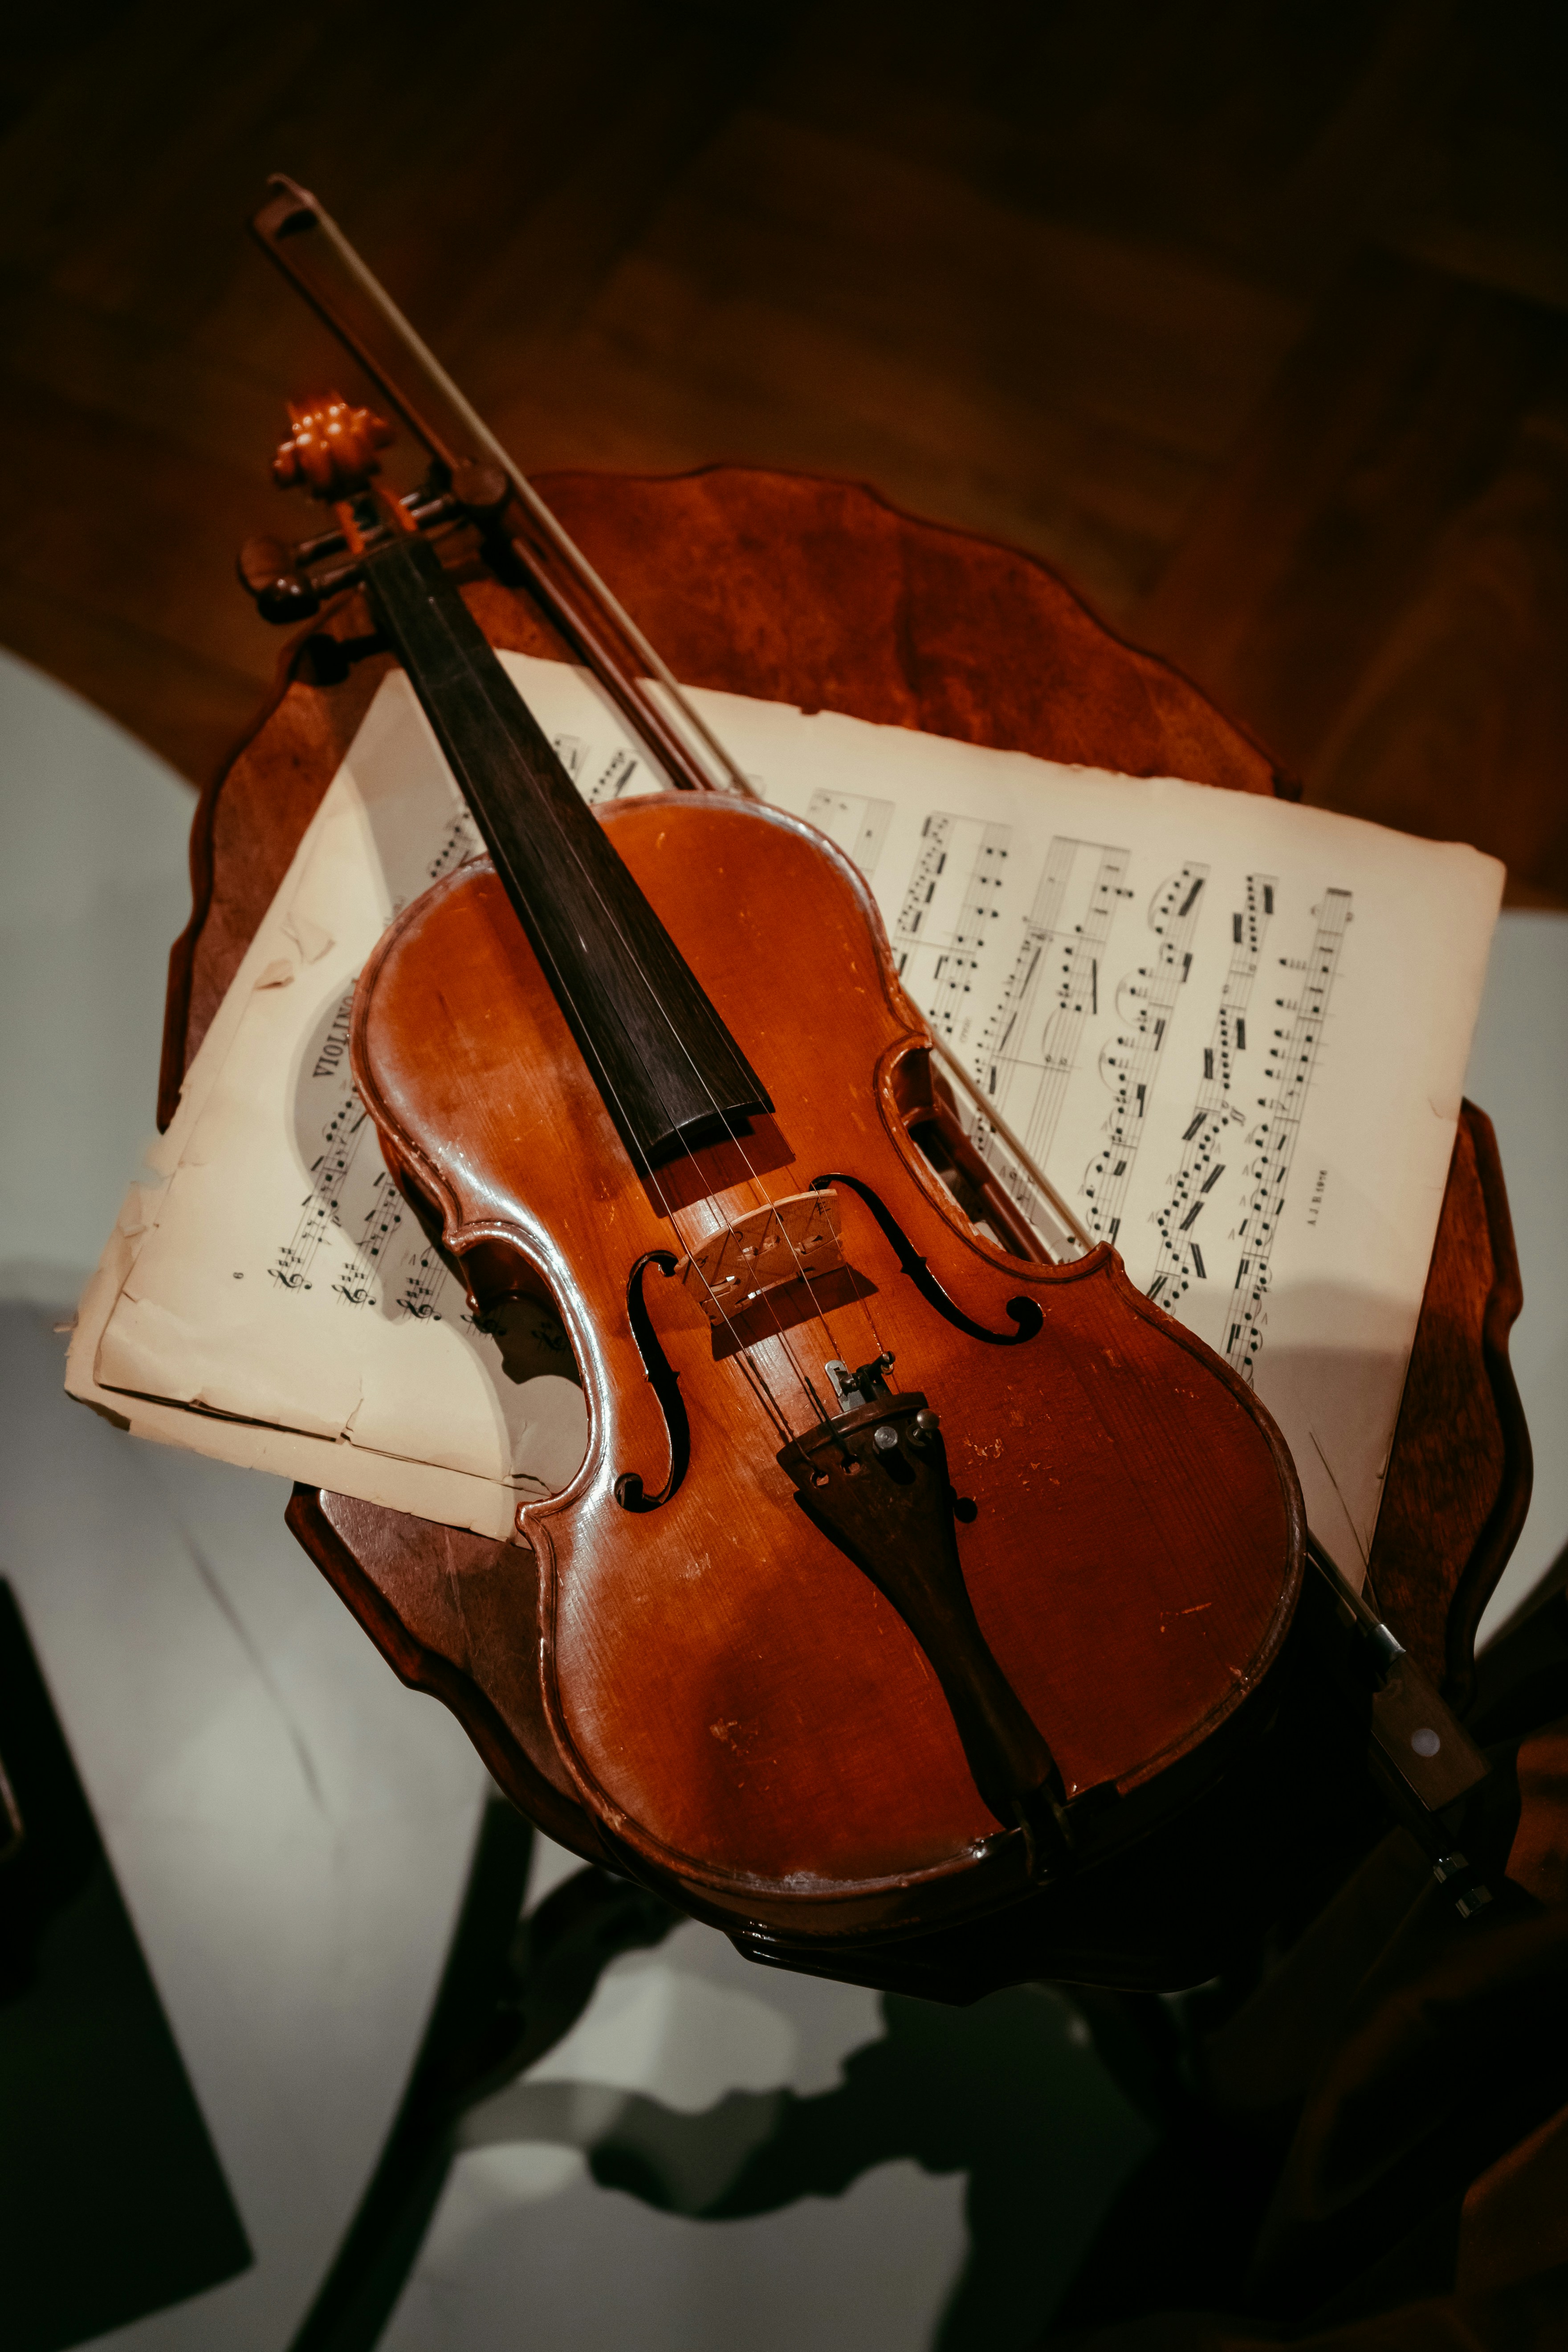
Strings in 70 Soul Production:
Strings became a defining feature of 1970s soul, contributing sophistication, drama and lushness.
They were used to add emotional depth and cinematic sweep to ballads and up tempo tracks alike.
Create hooks countermelodies and rich harmonic backgrounds.
Elevate arrangements with a sense of grandeur, often blurring the lines between soul, jazz and classical music.
Arranging Techniques
Orchestral Approach:
Arrangers like Paul Riser of Motown, Charles Stepney(Chess /Cadet, Rotary Connection, Earth Wind and Fire) And Thom Bell (Philidelphia international) Briought classical orchestration techniques to soul using string sections, violins violas, cellos and sometime souble basses.
Layered Textures: Strings were layers for warmth and fullness, often doubling melodies or providingg lush pads behind vocals and rhythm sections.
Counterpoint & Movement: Moving lines, swells and countermelodies were common, giving the arrangements motion and emotional lift.
Expressive Techniques: Techniques like pizzicato, glissando and tremelo all added drama and soulfulness.
Production and Recording:
Live Players: Most 70s soul records used real string sections recorded in the studi, often with top tier session musicians from local symphonies or orchestras.
Analog Warmth: The use of analog tape and vintage microphones contributed to the smooth, rich and slightly saturated sound of the strings.
Mixing: Strings were often mixed to blens with the rhythm section, supporting the groove without overpowering the vocals or horns.
Electronic Strings:
By the mid to late 70s, string synthesizer's like the Solina string Ensemble began to appear, providing a lush spacey alternative to real strings , especially in funk, disco and jazz influenced soul.
Summary: Strings in the 70s were central to the genres sophistication and emotional power. Arrangers used orchestral techniques, live string sections and eventually string synth s to create lush expressive backdrops and hooks. These arrangements shaped by Paul Riser, Thom Bell and Charles Stepney remain a hallmark of the classic soul sound.
Experiment with mic placement:

Grab a microphone and get recording!
Even if you cant play an instrument, record some hits or record the air of the room to implement space in the room.
Understand four placement styles:
Close Miking: Place the mic close (within a few inches) to the source for a direct, intimate sound with minimal room ambiance. Great for vocals and individual instruments.
Distant Miking: Position the mic further away to capture more room sound and natural reverb, resulting in a more open, ambient recording.
Ambient Miking: Place the mic even farther to capture mostly the room’s acoustics, useful for live or ensemble recordings.
Spot Miking: Use additional mics to focus on specific elements within a larger group or ensemble.
Experiment with Distance and Angle
Moving the mic closer increases presence and bass (proximity effect), while pulling it back adds room tone and reduces low-end buildup.
Try angling the mic slightly off-axis to reduce brightness or sibilance, or to avoid picking up unwanted noise directly.
For instruments like guitar amps, moving the mic from the center to the edge of the speaker cone changes the tonal balance from bright (center) to warmer or duller (edge).
Stereo and Room Techniques
For stereo recording, try XY (two cardioid mics at a 90° angle) or other stereo setups to capture width and depth. Adjust the angle and spacing to match the size of the sound source and desired stereo image.
When recording in a room, move the mic around while listening to find “sweet spots” where the instrument or voice sounds best in relation to the room’s acoustics.
Listen and Adjust
Always monitor the sound through headphones or speakers as you move the mic. Small changes in placement can have a big impact on tonal balance, clarity, and ambiance.
Don’t be afraid to try unconventional placements, like over-the-shoulder for instruments, or aiming at the chest for vocals to capture warmth.
Minimise Problems
Use shock mounts and stands to avoid picking up floor vibrations, especially for pianos or instruments on hard surfaces.
Consider the microphone’s pickup pattern and avoid placing it where it might capture unwanted noise or feedback.
Summary:
Everything in small steps, Learn from the greats, study the instruments and, get familiar with the tonality of the songs, performance and the gear used.
As beat makers or seasoned music producers, making soul samples is all about heart felt melodies and the emotional groove.
The magic is in the imperfections and the feel, so keep exploring and most importantly have fun with the process.
Stay tuned for Part 2