


Welcome back to our series on “The Key To Making Soul Samples”
Take a dive with us, exploring the key components and tools in how to make soul samples like the greats in the golden era of the 1970s.
Lets get stuck in!
Bump up the bass:
The bass is an essential part of soul music and is considered the backbone and foundation to the rest of the instruments in a complete song,
Learn to understand the bass from the notes to the articulation like attack, sustain and duration of note lengths.
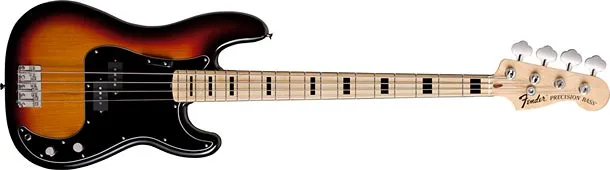
If your daring enough to pick up a real bass and learn then the main bass guitars used in the 1970s era would of been the Fender Precision Bass also known as the P bass and the Fender Jazz bass.
The P bass has a full bodied thick and deep tone where as the Jazz bass is scooped with more of a focus in the mids which can work more across genres.
Both were the industry standard and still are today.
Get Familiar
Alongside understanding the foundation of the bass and its functionality your gonna need to revert back to your old favourite songs with a fresh perspective of the bass guitar and what its actually doing.
Every music producer, inspiring beatmaker and musician should undergo this process to really get to grips with the instruments and the melodies taking place within each song.
Homework
Heres a few bass masters you can study to get you right with understanding the bass.
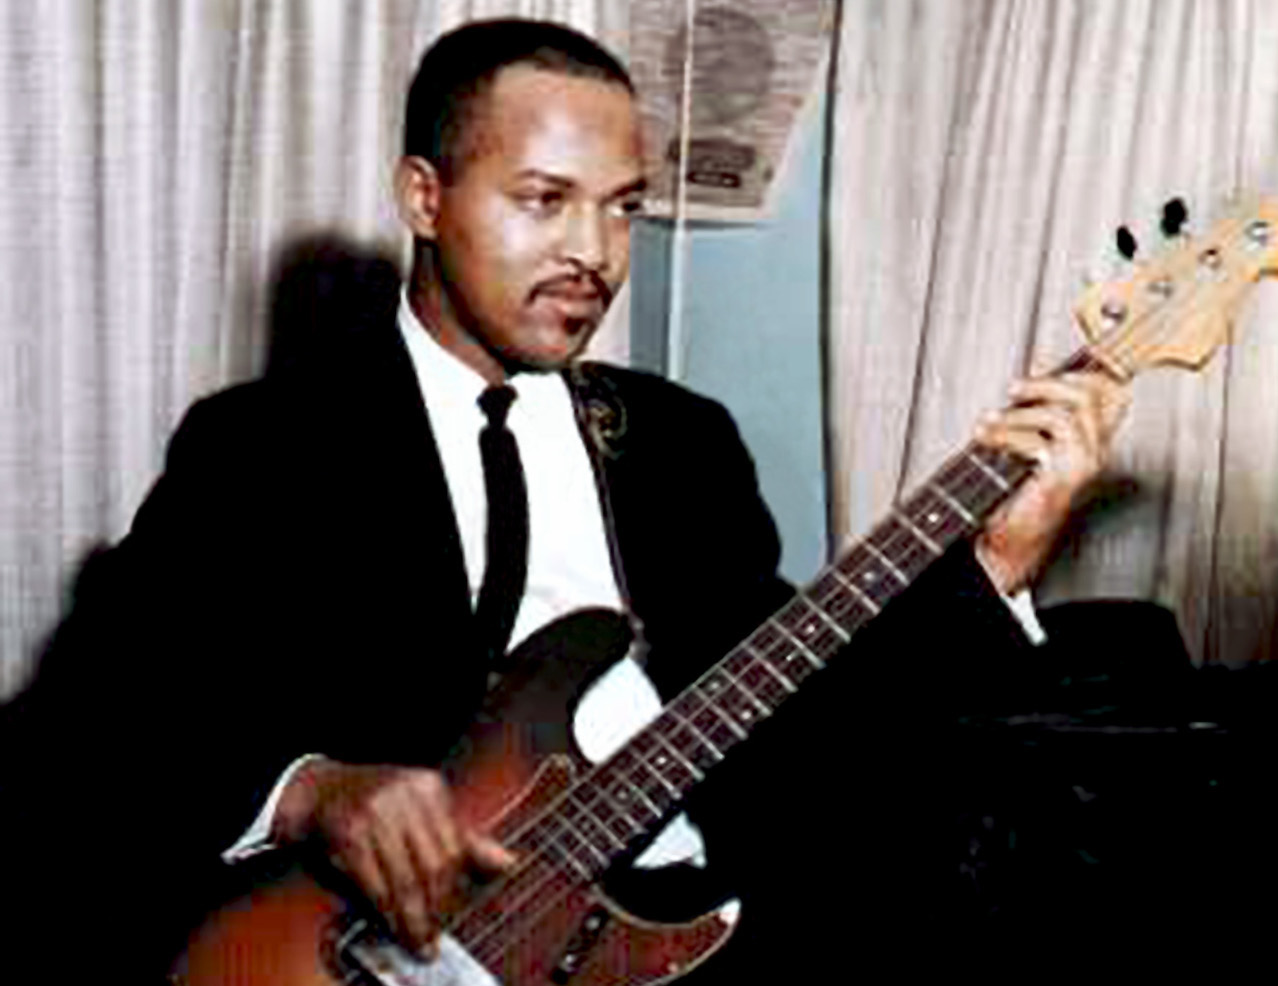
James Jamerson is one of the kings of the bass, dominating the 60s at Motown with hit after hit. He's bass melodies are unmatched.
As a music producer interested in how to make soul samples the right way, following the work of Jamerson will surely unlock some true game into how to craft serious bass melodies in your soul samples.
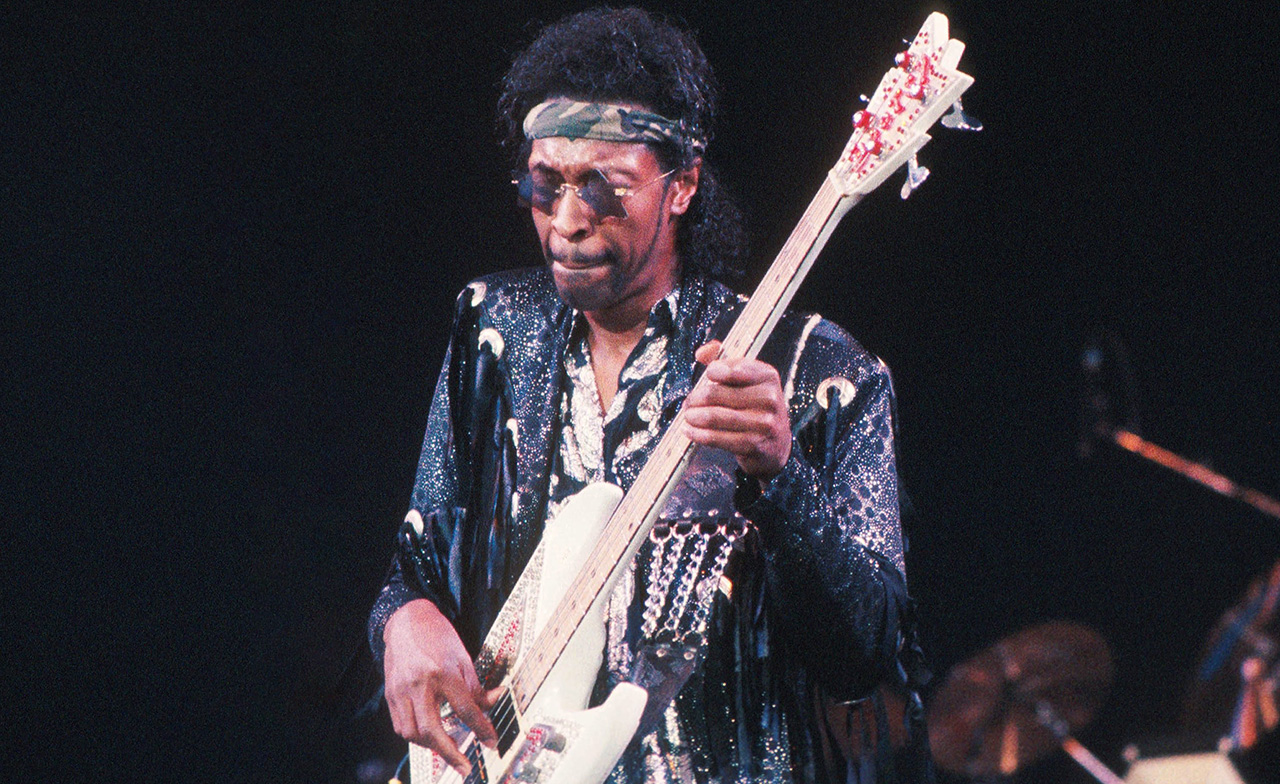
The Funk King! Bootsy Collins.
Bootsy came up as a bass player for the legendary James Brown and overtime became a legend of he's own.
He is known for serious funk rhythm and a mean bass growl.
He can be heard on works with the iconic Silk Sonic group featuring Anderson Pak and bruno Mars.
Creative Compression:
Compression in the 1970s was used for both technical and musical reasons. This meant that some instruments needed levelling out in volume, pinning down a sound that was ear piecing or simply adding a compressor to give a a nice thick. texture.
Compressors are generally used to add warmth, punch and so cohesively glue sounds together.
How compression was used.
Dynamic Control: Compressors were used for managing dynamic range of recordings. this meant that instruments were given a consistent level of volume without jumping out of volume and sounding uneven.
Texture: Compression added a smooth round quality to certain sounds, especially vocals and bass. Compressors added soft, warm and tamed harsh sounds which was a signature sound to crafting many 70s soul records.
Drums and Groove: Drums were often compressed were usually compressed for a round tone making them punchy and glued together.
Setting the attack and ratio of a compressor in various ways alters the timing of whatever your compressing resulting in the ability to affect the groove of whatever your compressing.
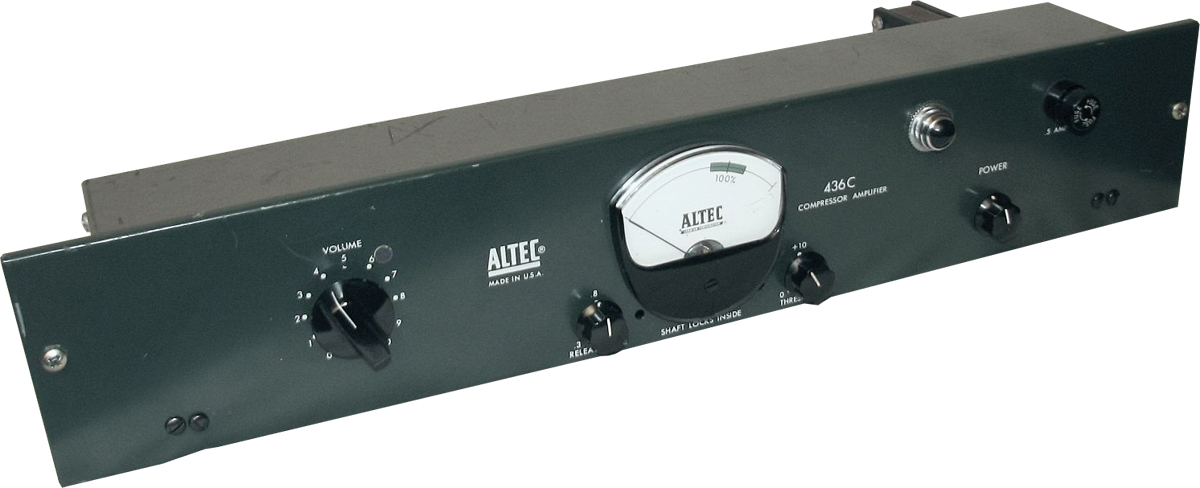
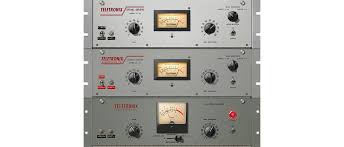
Signature Compressors: Iconic compressors like the Fairchild 670, Teletronix LA-2A and Urei 1176 were widely used.
These units all had their own sonic character sound from tube compression to fet compressions like the 1176.
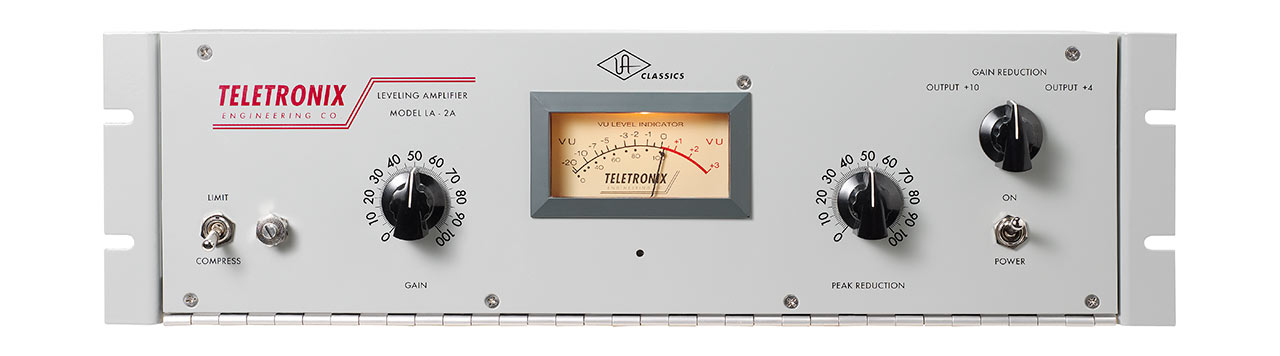
The characteristics of the fairchild and La-2a add a pleasing warm tone with a general slower compression reaction to the audio its going through.
These compressors would of been used on Vocals, bass, horns strings for examples.
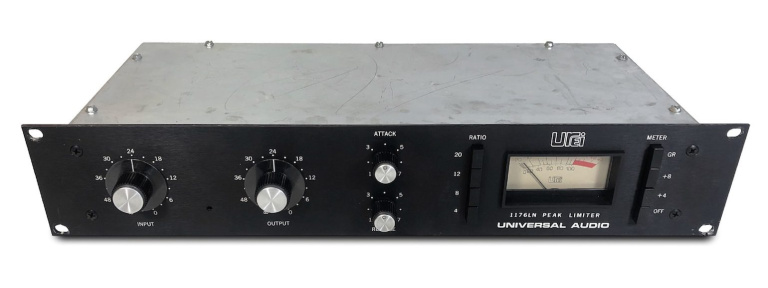
The Urei is a workhorse staple and is known to be a fast reacting compressor that can really pin down audio material and crush it in a pleasing distorted way.
This would of been used on vocals, drums bass etc.
Subtlety: In many classic soul recordings, compression was applied in ways not to be obvious to the listener, to preserve a natural feel.
The goal often being to control dynamics and tame audio peaks. overall in combination, this contributed to the soft, musical glow of some of the songs we hear today.
In todays tools, offerings by Universal Audio and more give us a huge percentage of the vibe and tone of those analog compressors in software form.
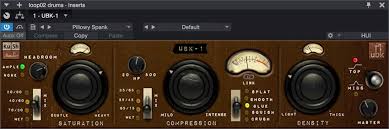
Kush Audio
Universal Audio LA-2A
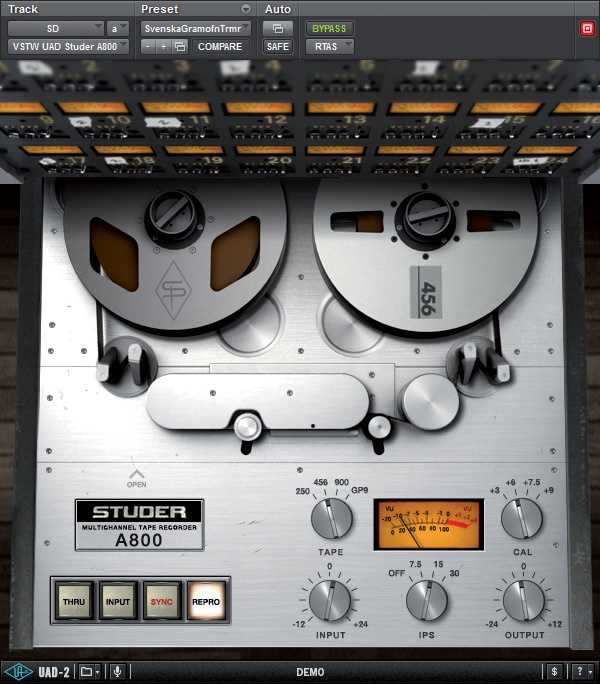
Add Tape Saturation or pretend!
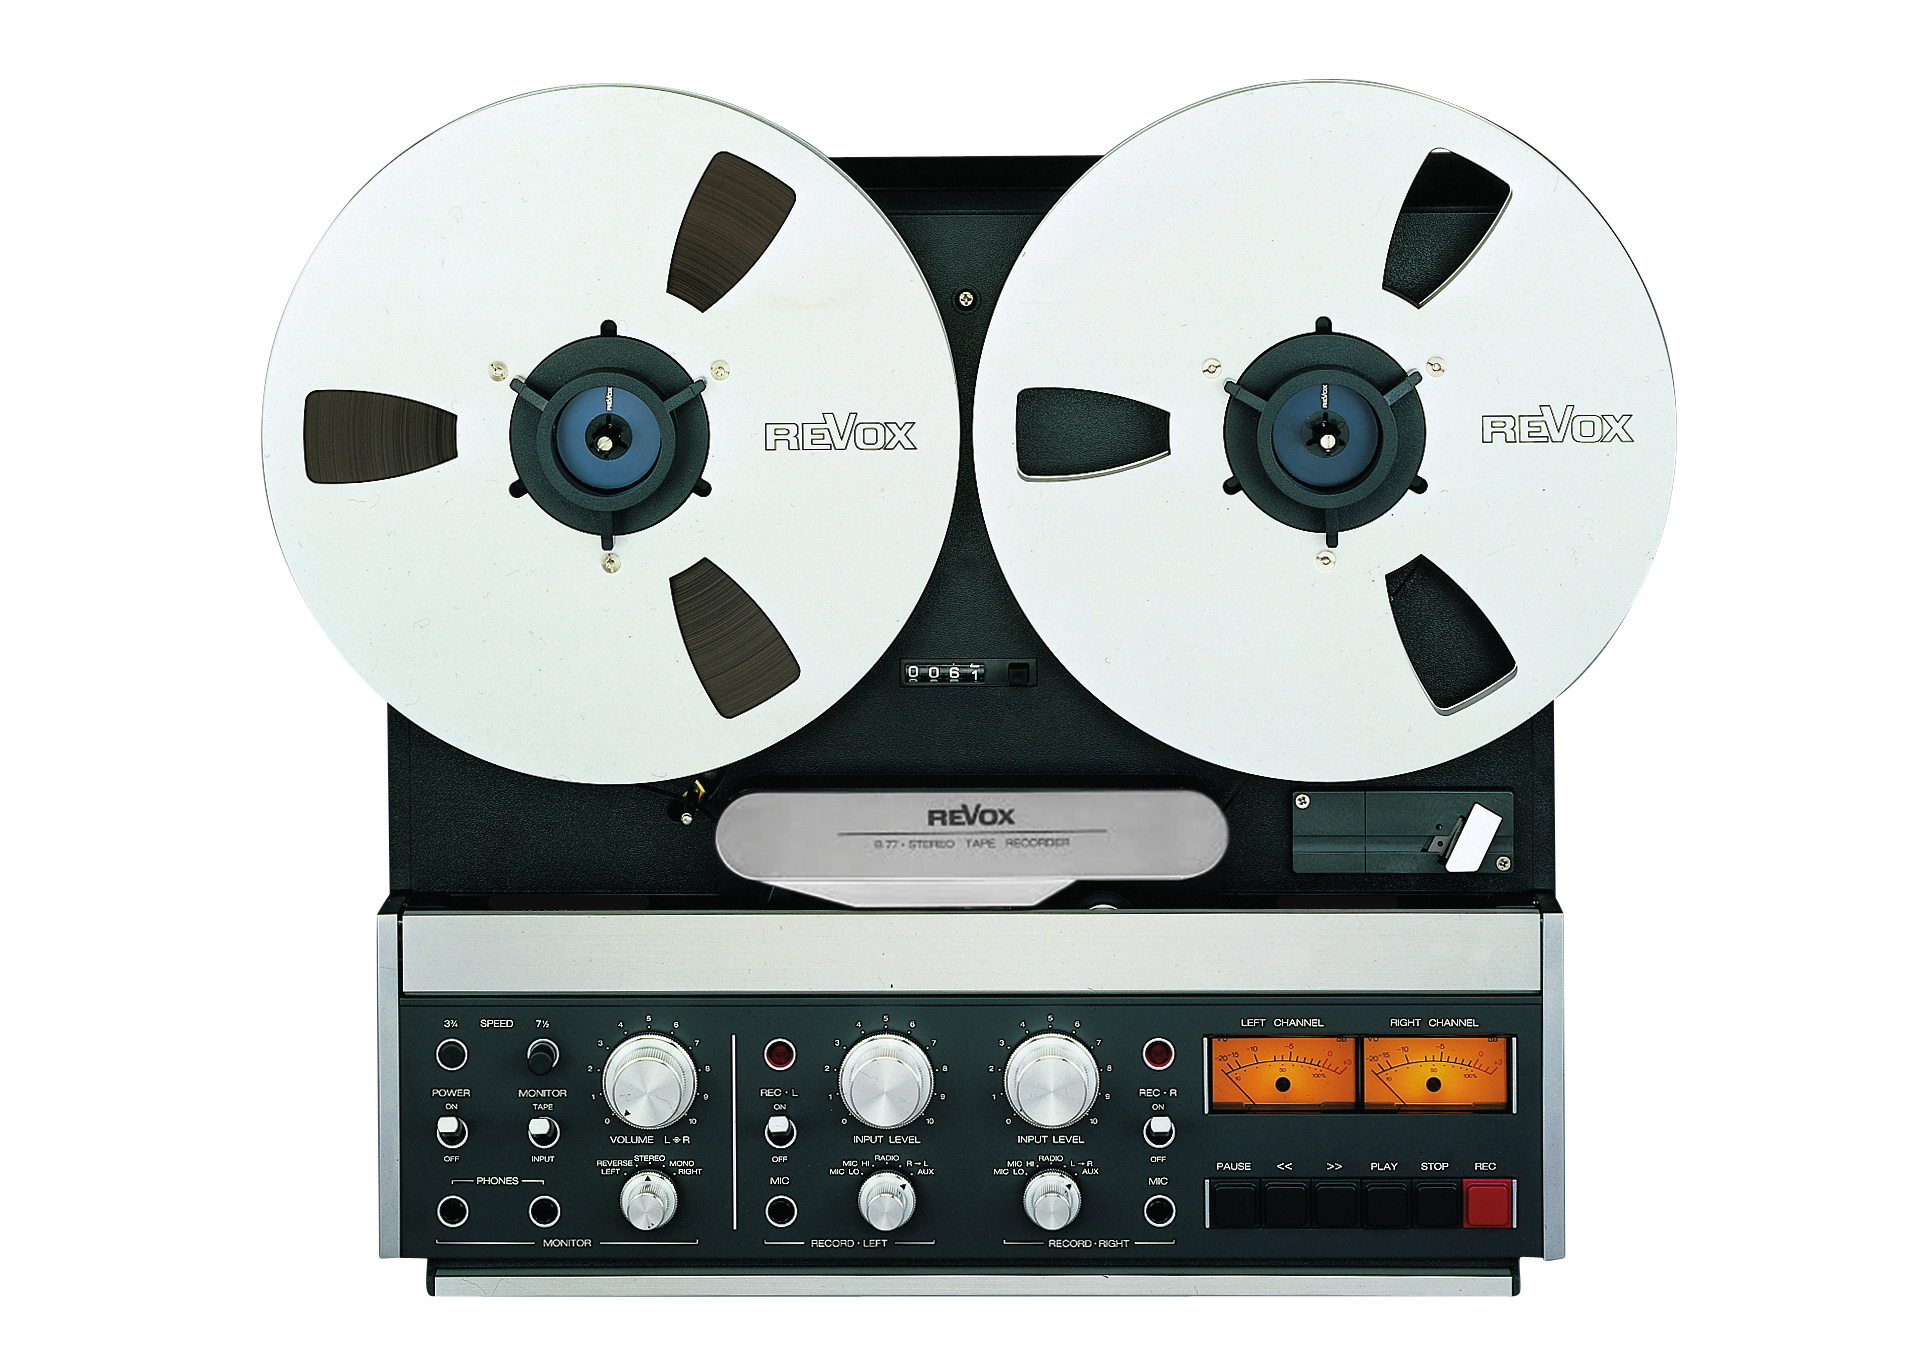
During the 70s, tape saturation was used in a combination of deliberate recording practises.
From driving the input on mixing consoles the microphone preamp section to cranking the tape machine, Tape saturation added what we consider to be warmth and character to recordings.
Pushing Tape Levels: Engineers would intentionally record signals hot to tape by setting high input levelss so the magnetic tape would begin to saturate.
This would naturally compress, creating harmonic distortion and a pleasing warm overtones, especially in vocals, drums and horns elements.
Multiple stacks: With each overdub, bounce or mixdown, audio would be passed through the tape machine again adding additional layers of saturation, subtle distortion and frequency roll of. Further enhancing the saturated sound
Overdriving Preamps and Consoles:
The input and output stages of analog consoles often with transformer based circuitry could be driven hard before hitting the tape, adding its own unique colouration and saturation.
The cheat code to this technique engineers would discover was to crank the gain on the mic preamp and lower the output which would add tons of colour without the volume.
Tape Machine Artifacts: A combination of the tape formulation, tape speed and head alignment all influenced the degree and character of saturation.
Slower tape speeds and older or lower grade tape stock would saturate more easily and add more colouration.
Natural Tape Compression: As tape approached its magnetic limits, it would naturally compress transients, smoothing out peaks and contributing to the cohesive glued together sound of those 1970s soul classics.
In summary,
Tape saturation in the 1970s was a result of pushing tape and analog gear to their limits, recording at high levels, using multiple generations of tape passes, and leveraging the coloration of preamps and consoles, all of which combined to create the warm, harmonically rich character now associated with vintage recording.
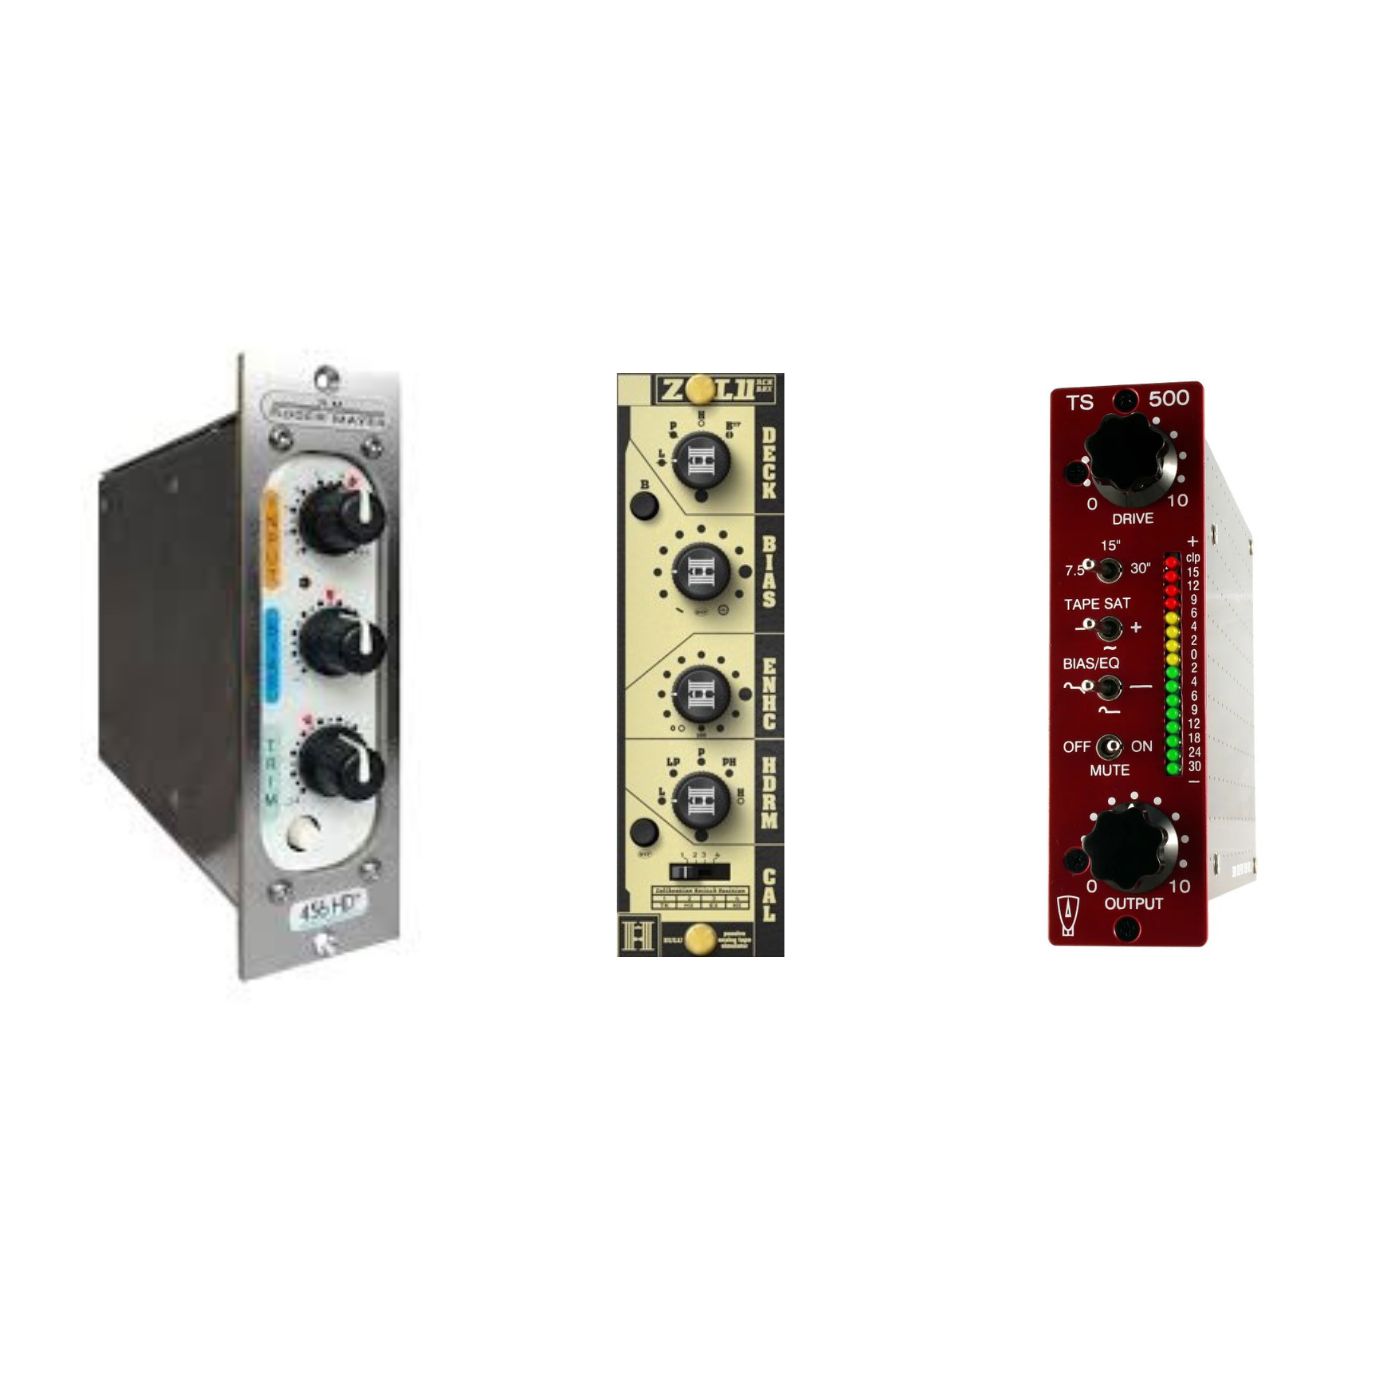
So when crafting those soul samples think in terms of console and tape input using the drive section to increase harmonic distortion.
This can be done adding a console or a tape plugin to each channel, aux and 2bus.
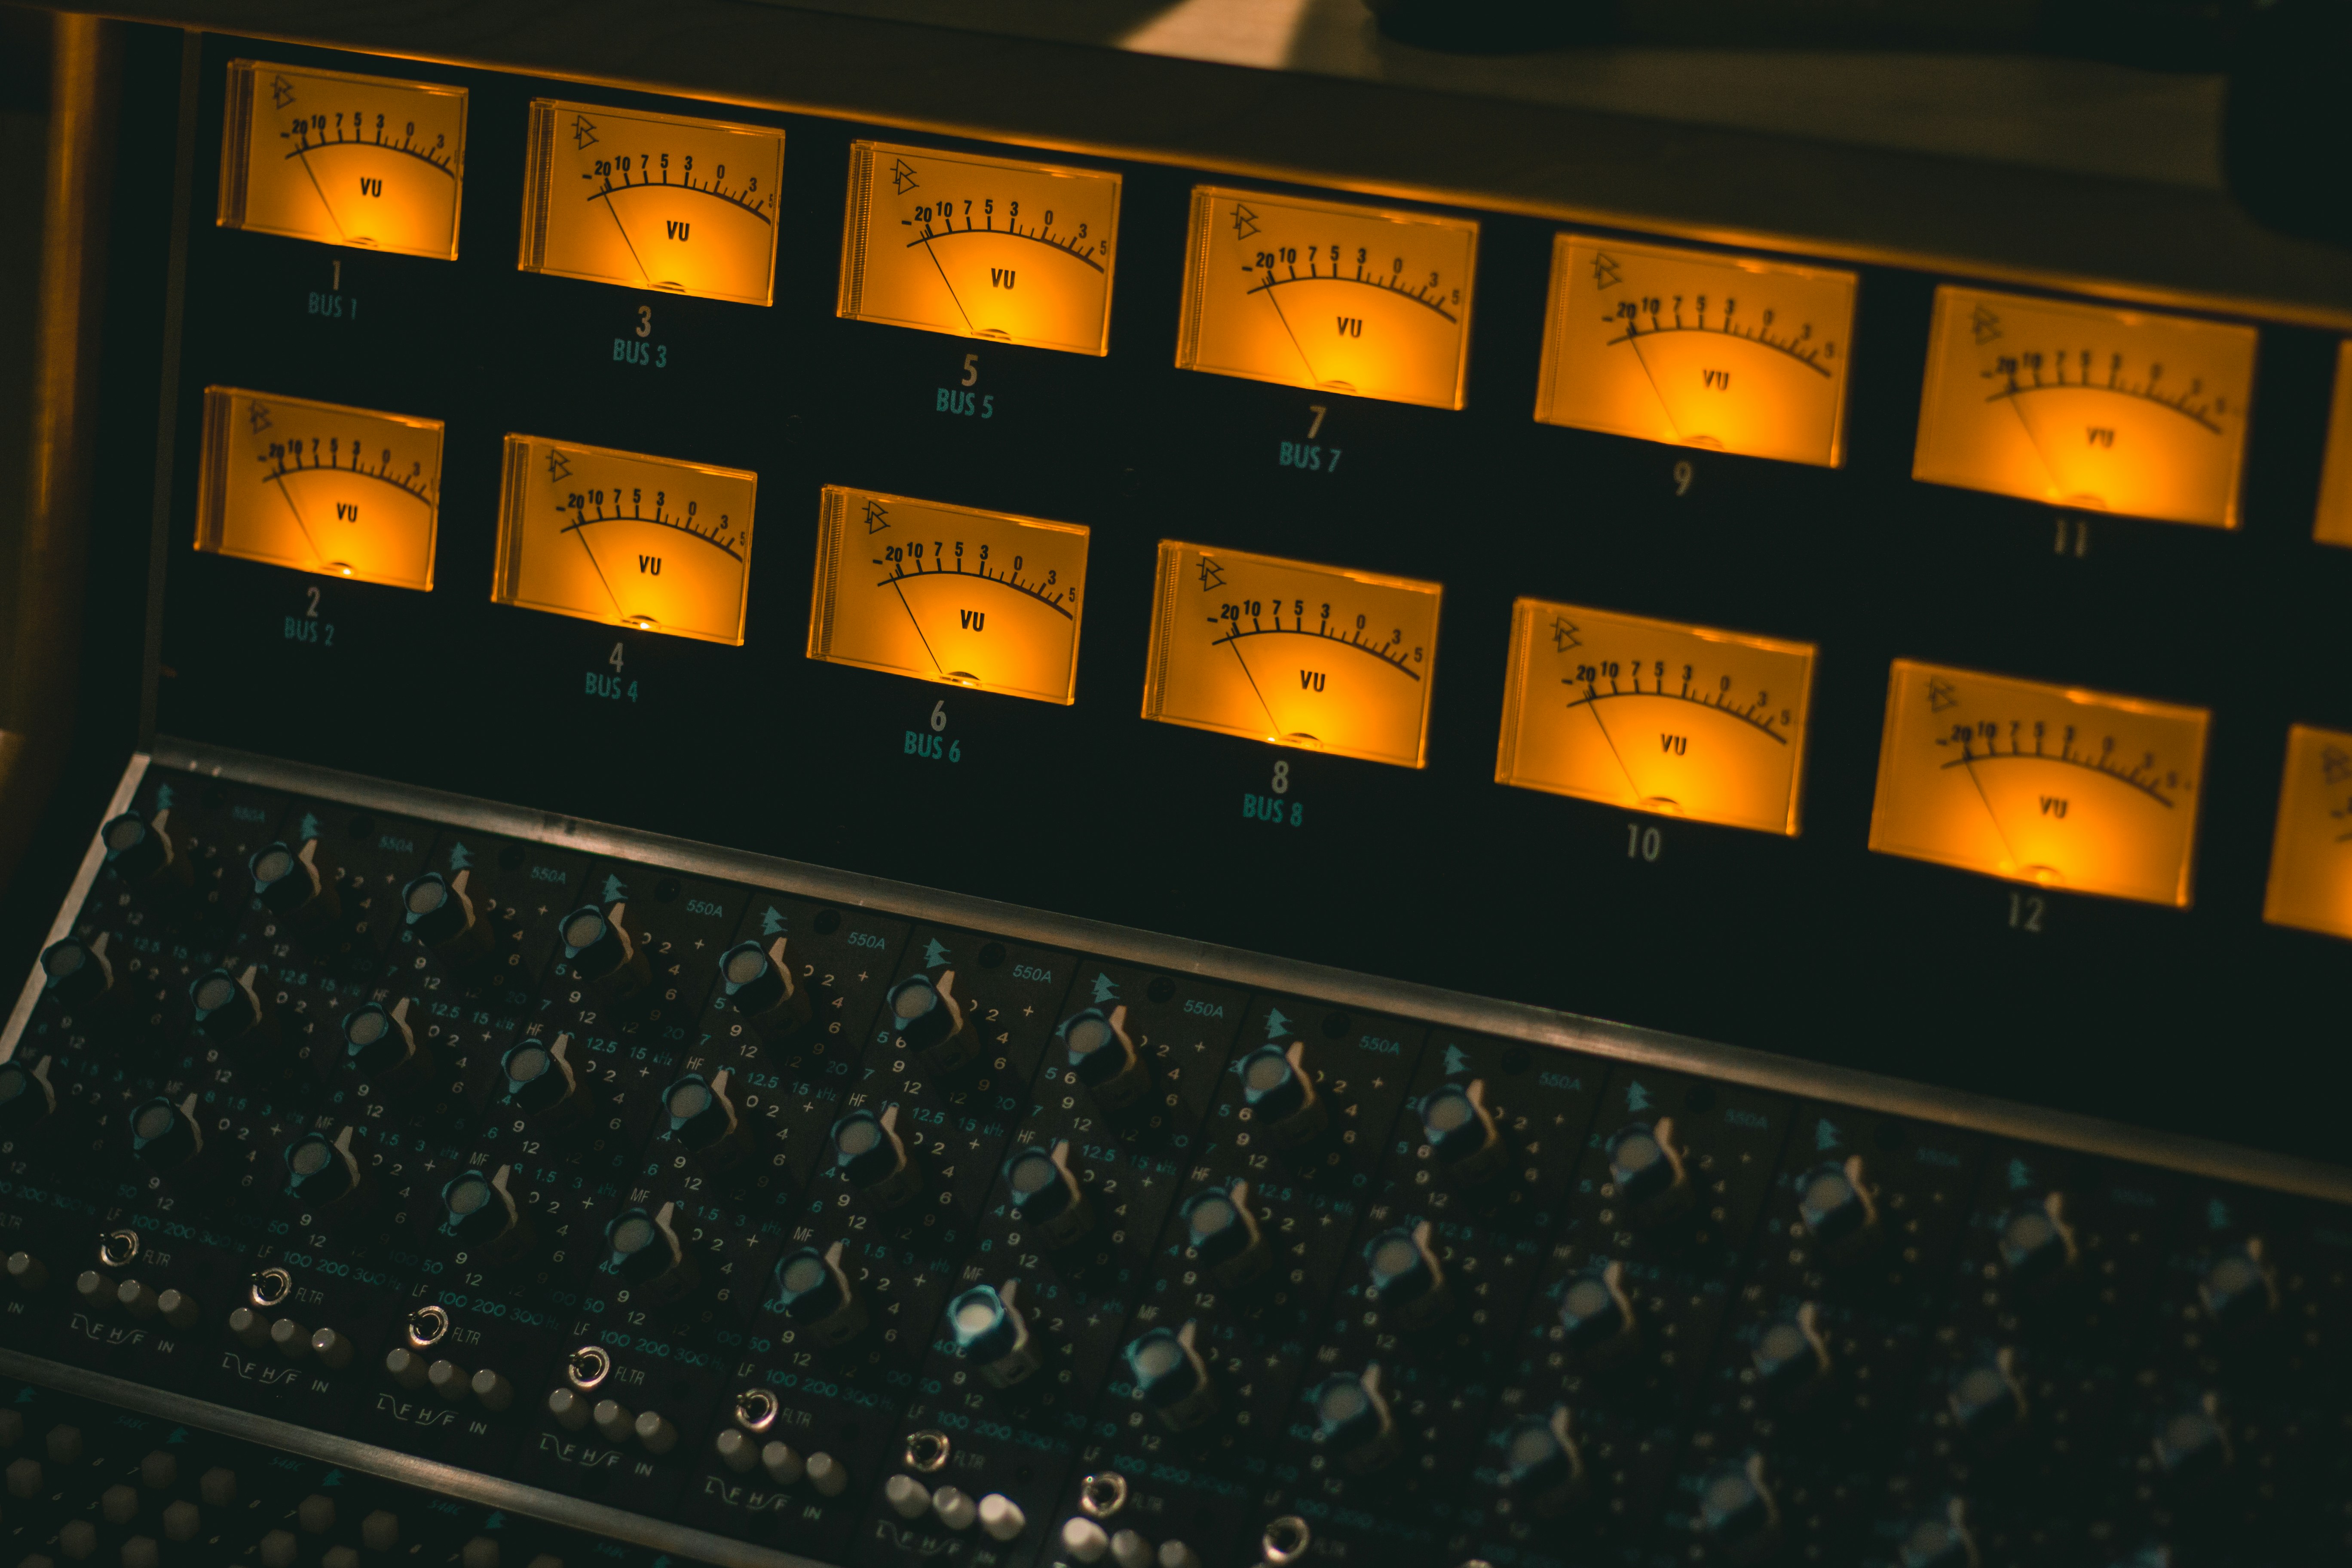
Api 500 Series units:
Equalization:
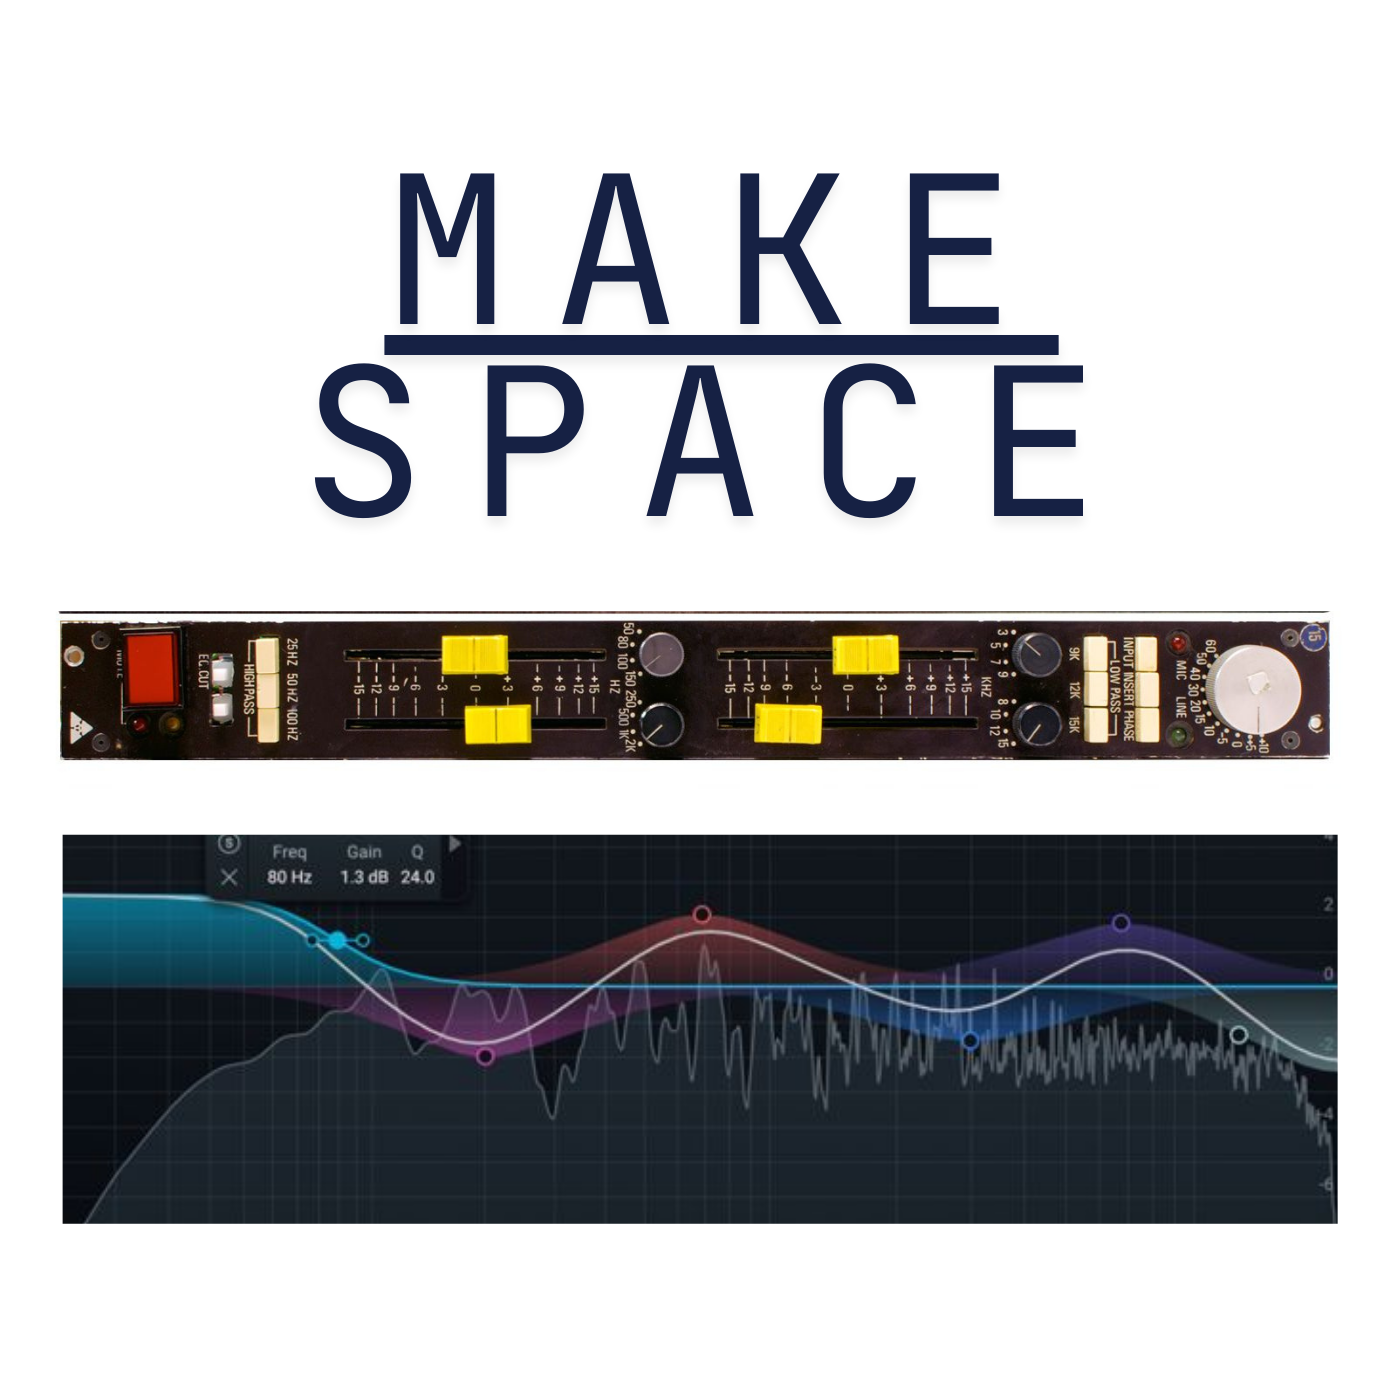
Equalisation generally has one main purpose despite the genre which was to carve out frequencies and make space.
Subtle and Musical Shaping:
Eq in the 70s was used less wildly and more sparingly than todays sound. Engineers main goal was to enhance instruments to make them feel natural, rather than completely alter them.
Frequency Limitations: Analog tape and equipment of the time made it hard to capture and mix very deep bass or sparkling highs.
As a result the overall frequency of 70s soul music is often midrange focused, with less extreme lows and highs compared to modern digital mixes.
Instrument eq: Instruments like bass, guitar and keys were typically eq'd to enhance the natural timbre an ensure they worked together.
Sometimes amps or preamps were used for additional tone shaping rather than relying solely on console eqs.
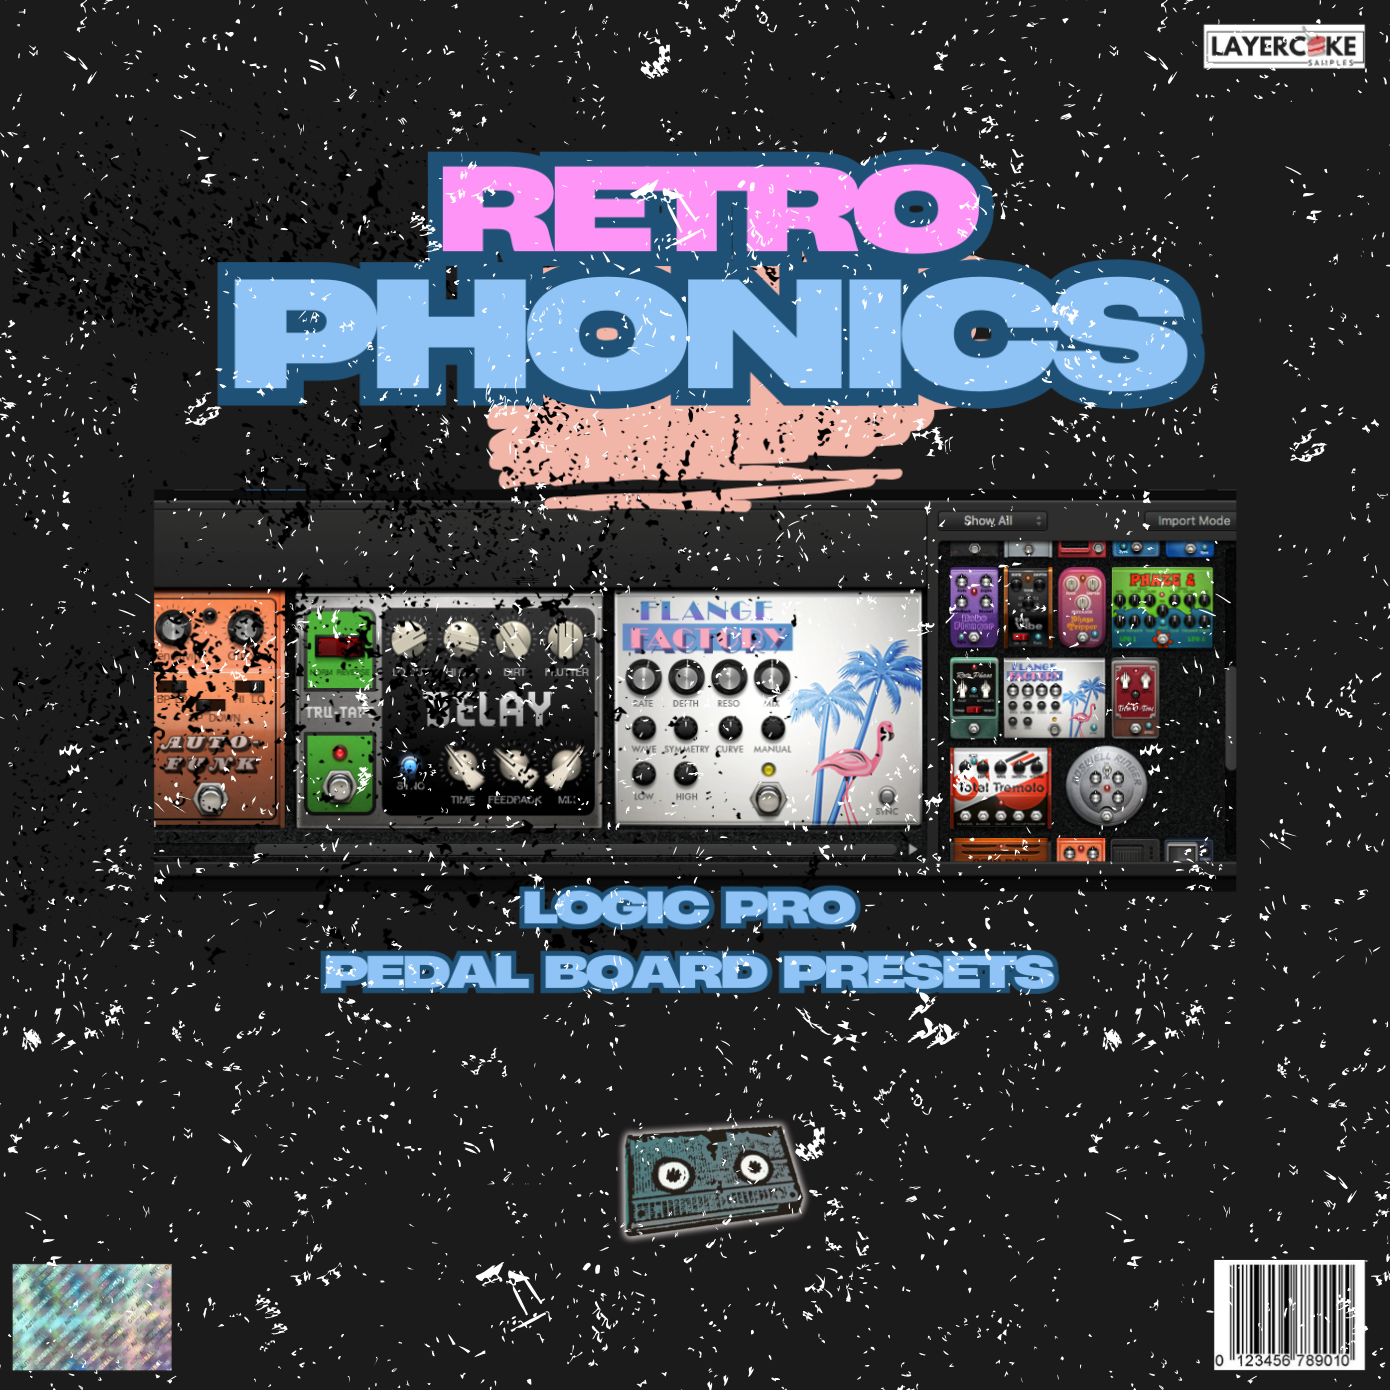
(So Logic users Amp Designer and Pedalboard is your freind!)
Retrophonics Pedalboard Presets
Eq is about subtle enhancement and clarity, using analog gear to shape sounds naturally and musically.
The overall goal was to make live performances blend well audibly for the audience.
From this has evolved into audio excellency and a quest to enhance, shape and alter sounds in ways that can be unrecognised in todays music.
Use reverb and delay:
Reverb techniques in 1970s soul music were defined by a blend of creative studio practises and the use of distinctive analog quipment, shaping the lush, cohesive sound of. the era. Here are the key techniques and apporaches.
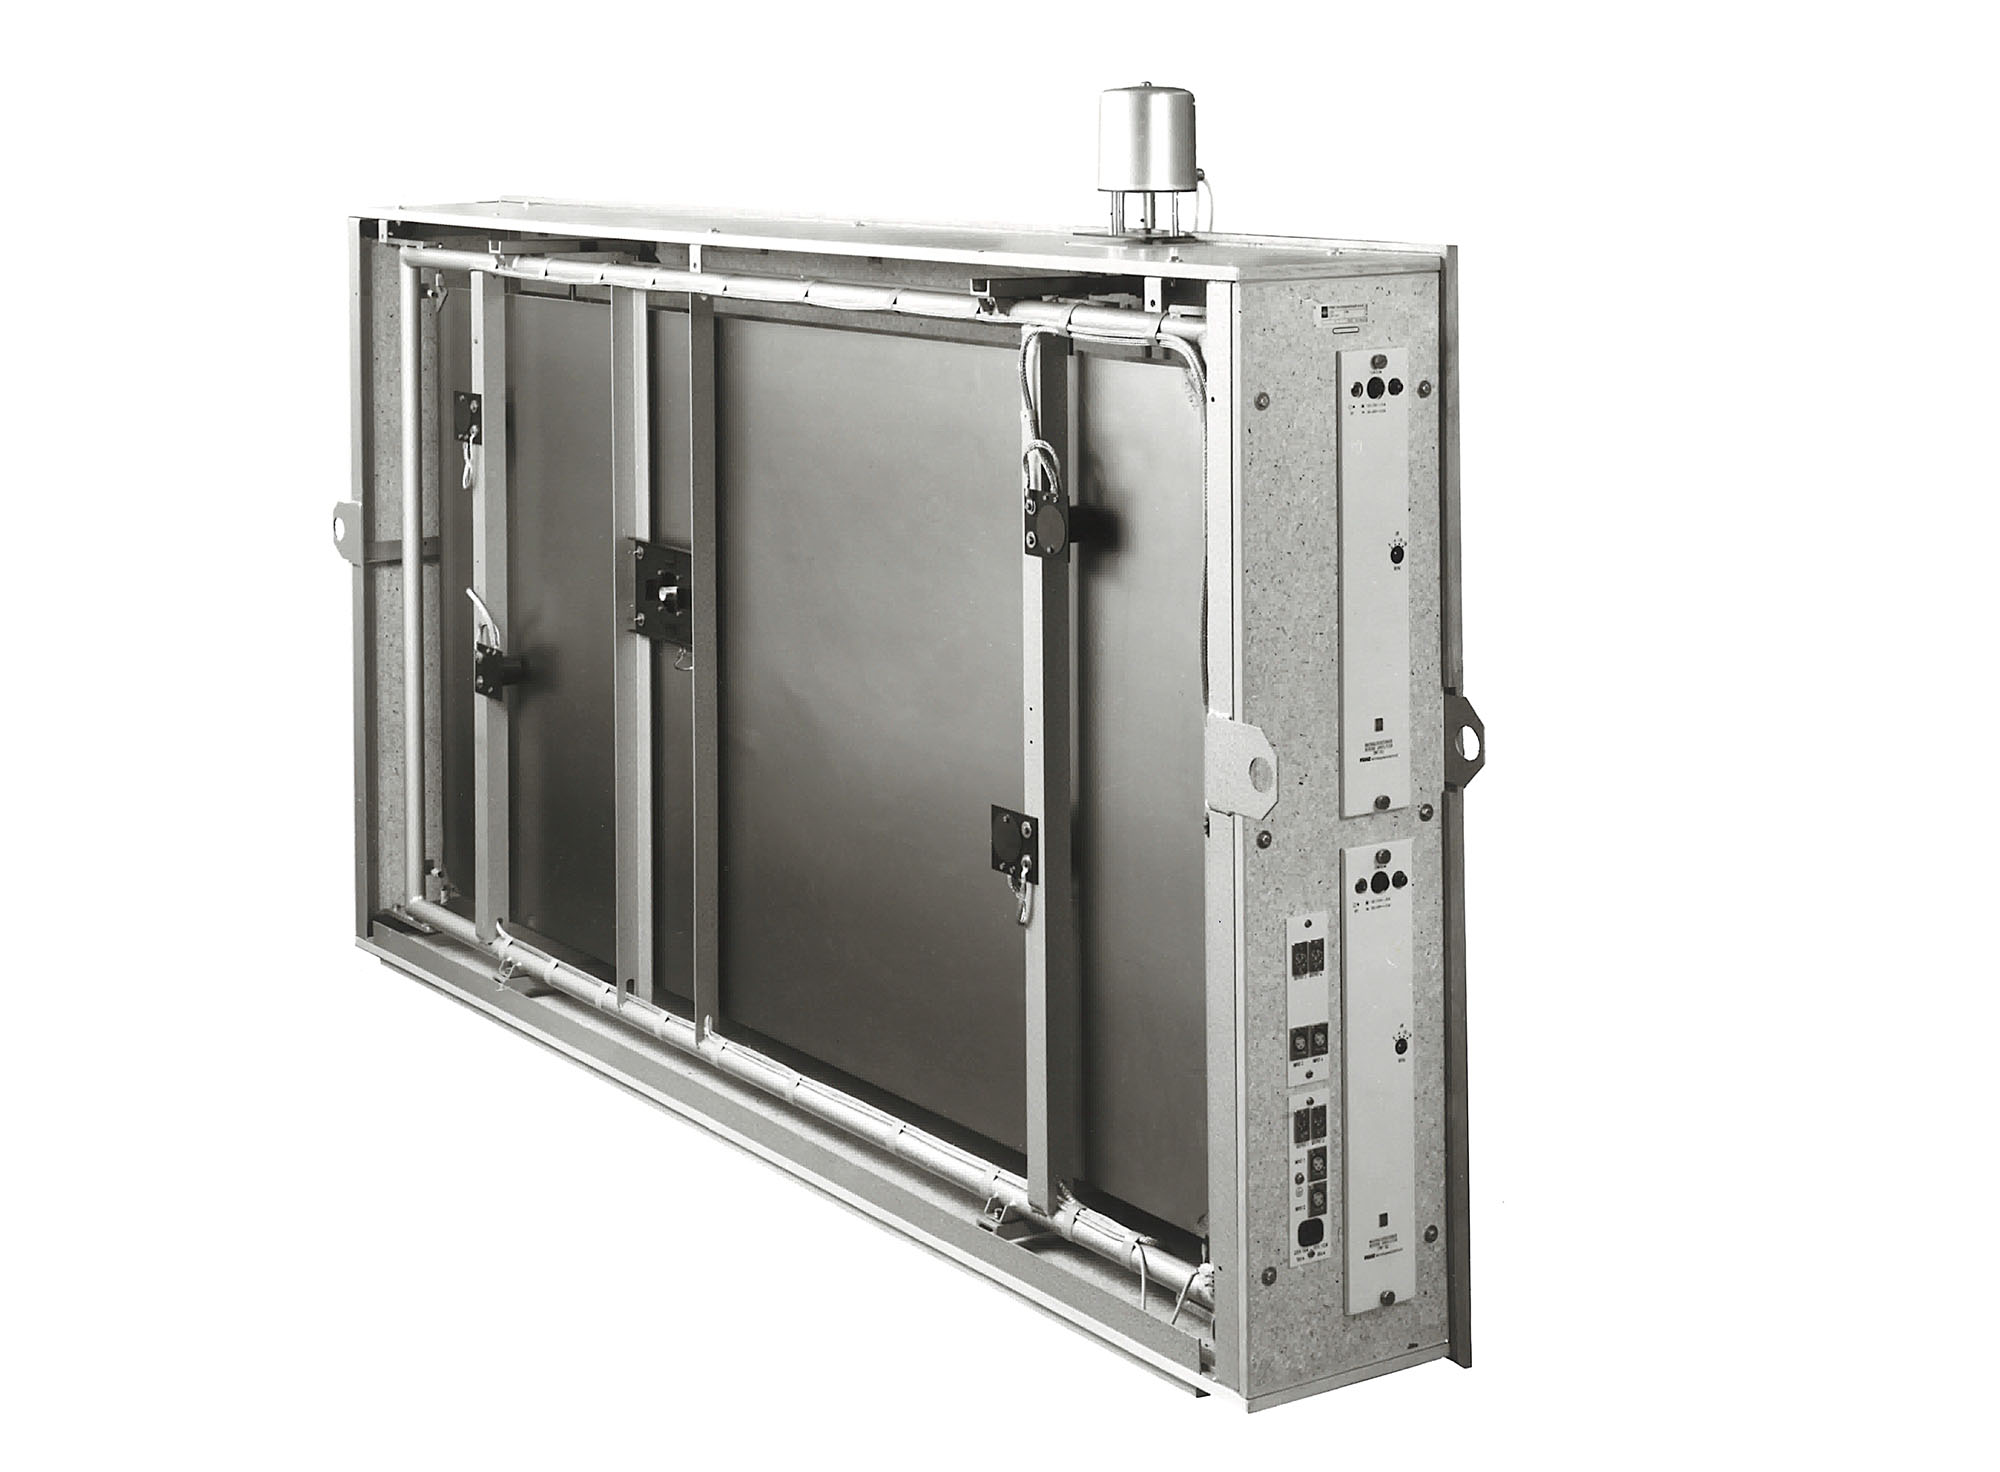
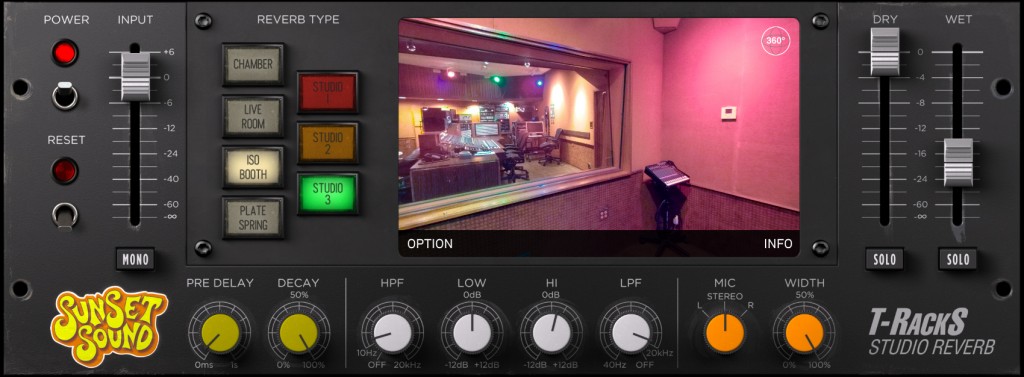
Plate Reverb:
Plate reverb mainly the EMT 140 was a staple in studios. Its dense smooth reflection pattern added warmth and depth to vocals.
Application: Engineers often added plate reverb to nearly all instruments and vocalscreating a unified glued sound across the mix which differed in glue to compression. The technique helped tie elements together and gave records their space and signaure.
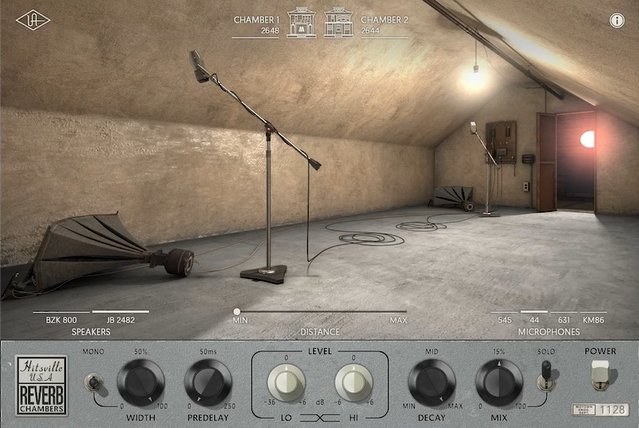
Echo Chambers:
Physical Spaces: Many studios had dedicated echo chambers from constructed rooms to reflective surfaces used to create natural reverb. The process was sound being sent to the chamber and rerecorded with microphones , resulting in a rich organic ambience.
Muscle Shoals, Motown and other studios each had their own echo chamber contributing to their unique sonic sound.
Spring Reverb:
While more common in guitar amps, Spring reverb was sometimes used for its bright splashy tone, though it was less prevalent than plate or chamber reverb in mixes.
Tape and analog vibe: All reverb effects were captured on tape, adding warmth compression and subtle harmonic distortion to the reverb tails, this further enhanced the vintage character.
Mix and Process Like the Classics:
Reverb: Use plate reverb to give vocals/strings/hornsa lush vintage space
Eq and saturation: Gently roll off highs/lows and add subtle analog style saturation for warmth.
Blend: Use reverb subtle not to overpower but to glue and create space.
Todays practises are mainly in the box and with the advancement of technology, the tone and authenticity is pretty much there.

Delay:
Yes, delay was used in the 70s,
Tape delay and early analog delay effects were available and applied in both studio and live applications.
Tape machines were often used to create slap back echo and time based effects.
Sometimes by delaying the send reverb units like plate or echo chambers with tape delay, as heard on Issac Hayes Hot Buttered Soul.
Guitarists and Producers also used delay to add depth and space to instruments, especially guitars and vocals.
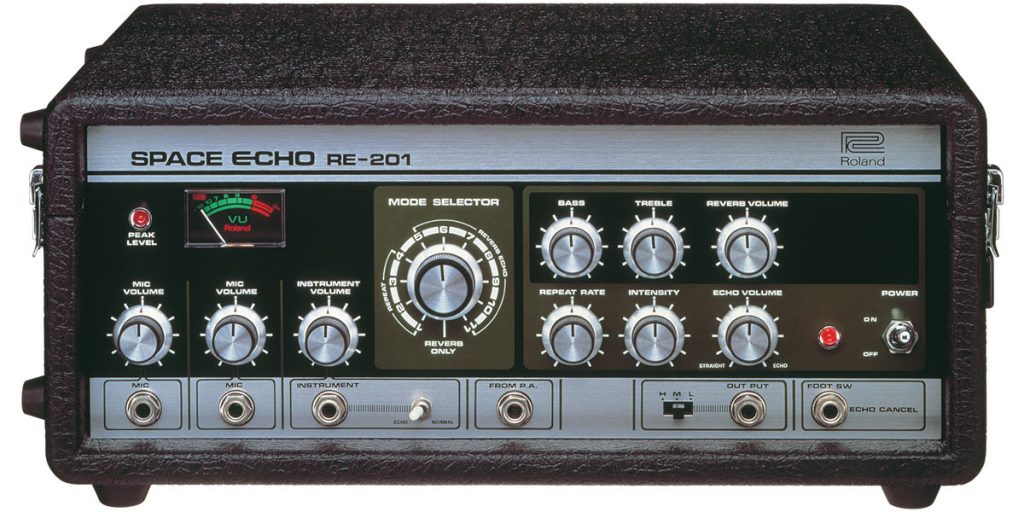
By the late mid 70s, dedicated analog delay pedals and rack units like the MXR Analog delay and the Roland Space Echo became available, Further expanding the creative use of delay in recordings and live shows.
While delay was not as widely used as much as reverb, it was sure part of the effects palette in 70s soul music.
School in Process:
Filtered, Warm Repeats Filtered, Each echo loses some high frequencies, resulting in a progressively darker sound over time.
Wow and Flutter: Small fluctuations in tape speed cause subtle pitch modulation and movement in the repeats.
Separation and noise. Tape delay can introduce harmonic distortion and background his, adding to its vintage character.
Classic tape delay units, like the Maestro Echoplex and Roland Space Echo, are still highly regarded for their musical and organic imperfections.
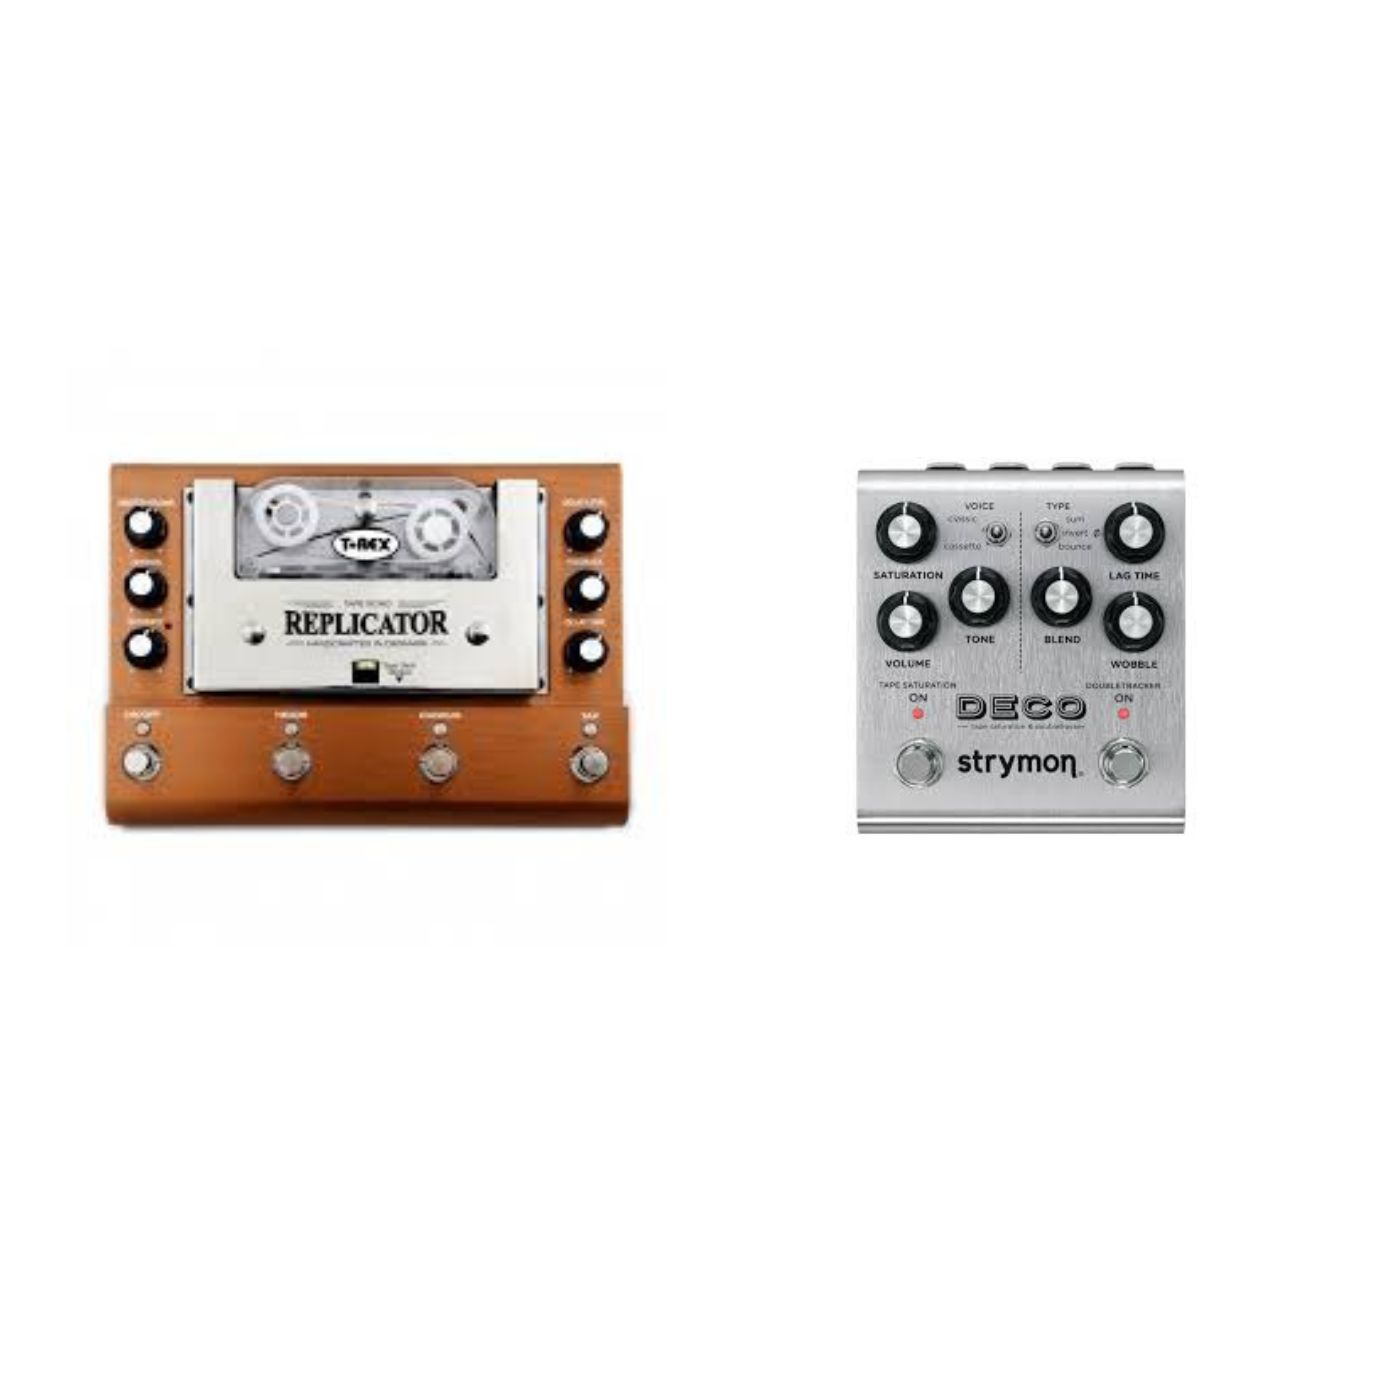
If your a guitarist or even a beatmaker that can't afford the analog dream machines like the Roland Space Echo then guitar pedals are a great entry point in to the analog world on a budget!
Summary:
Simplicity is key!
Soul music often features simple and direct arrangements. Avoid cluttering your mix with too many elements, and keep it simple.
Getting the tone from the beginning for example, recording all your live instruments or running your virtual instruments through one mic preamp on everything can stack up a good chunk of analog juice to your digital sounds.
So get as much tone going in and less work at the mixing stage (mainly volume balance)
And remember to experiment and have fun which is the most important part.
Stay tuned for more on “How to make Soul Samples.”